JS Help Desk Installation!
Installing JS Help Desk is a straightforward process that brings a complete support ticketing system into your WordPress website. The installation is designed to be simple, even for non-technical users, and can be completed in just a few steps. Once installed, it gives you a professional help desk environment to manage customer support more effectively.
You can install it directly from your WordPress admin panel or upload it manually. After downloading the JS Help Desk plugin, you can install it directly through the WordPress Plugin Manager by navigating to Plugins > Add New > Upload Plugin and selecting the ZIP file. Once you click Install Now and then Activate, the system automatically begins configuring the essential components required for smooth operation. JS Help Desk prepares everything for you.
Installation Process
Step 1:
Make sure you have installed WordPress.
Installing the JS Help Desk Plugin
Step 2:
- Log in to your WordPress Dashboard.
- Navigate to the Plugins option in your dashboard menu.
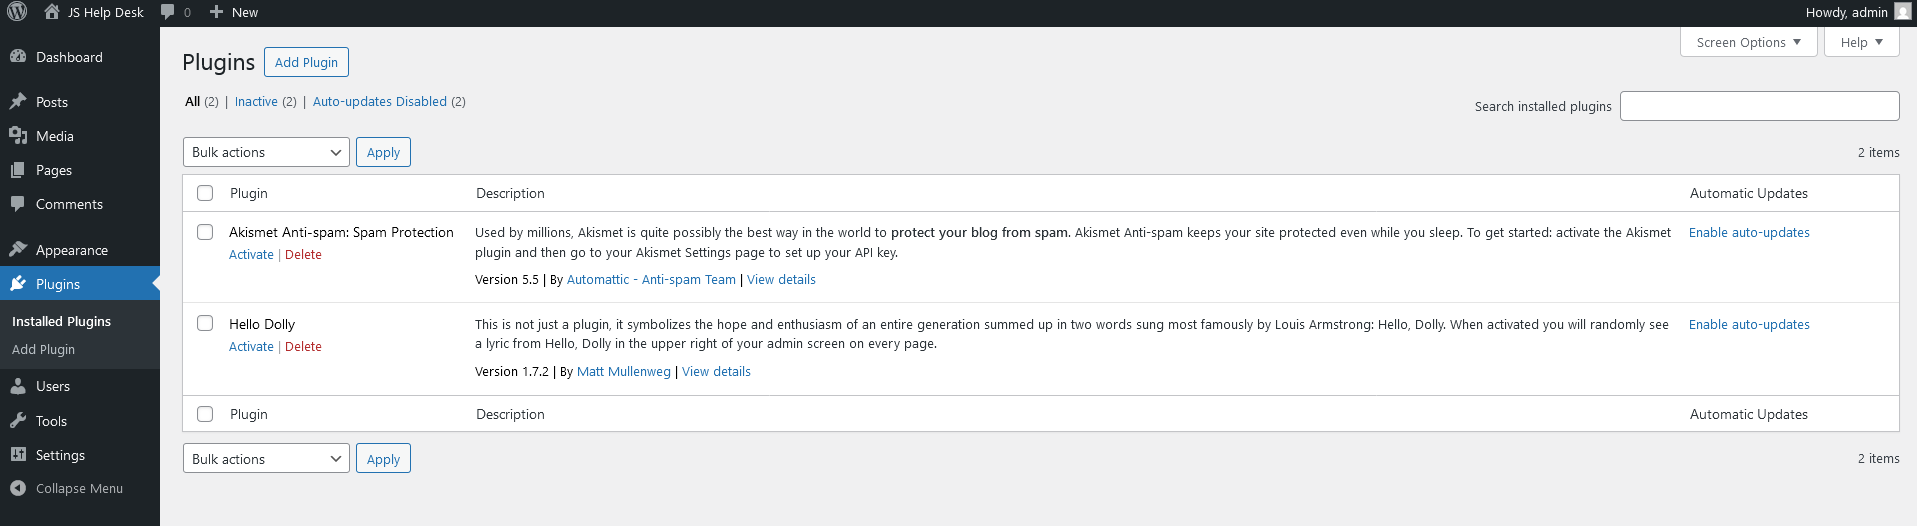
- Click on the Add Plugins button.
Step 3:
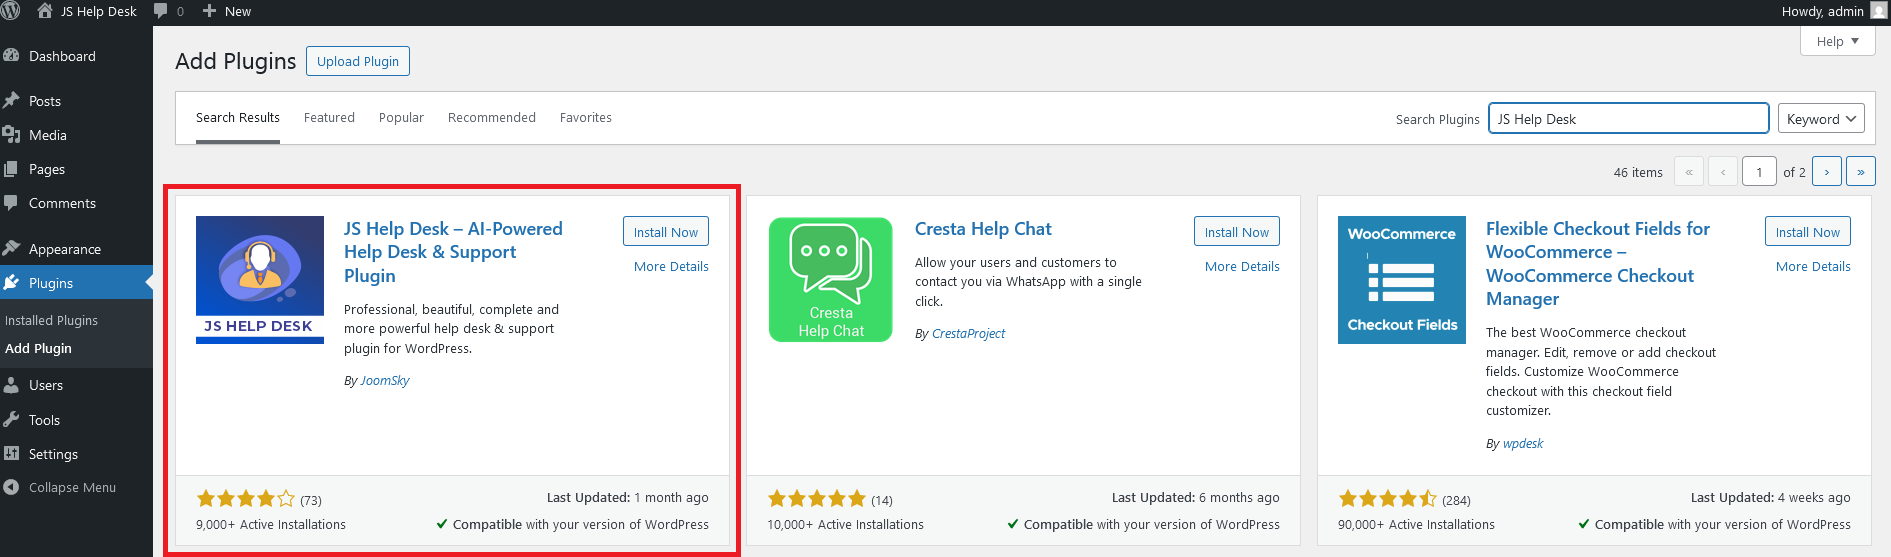
- In the search bar, type “JS Help Desk” and press Enter.
- Locate the plugin in the list and click the ‘Install Now’ button.
Step 4:
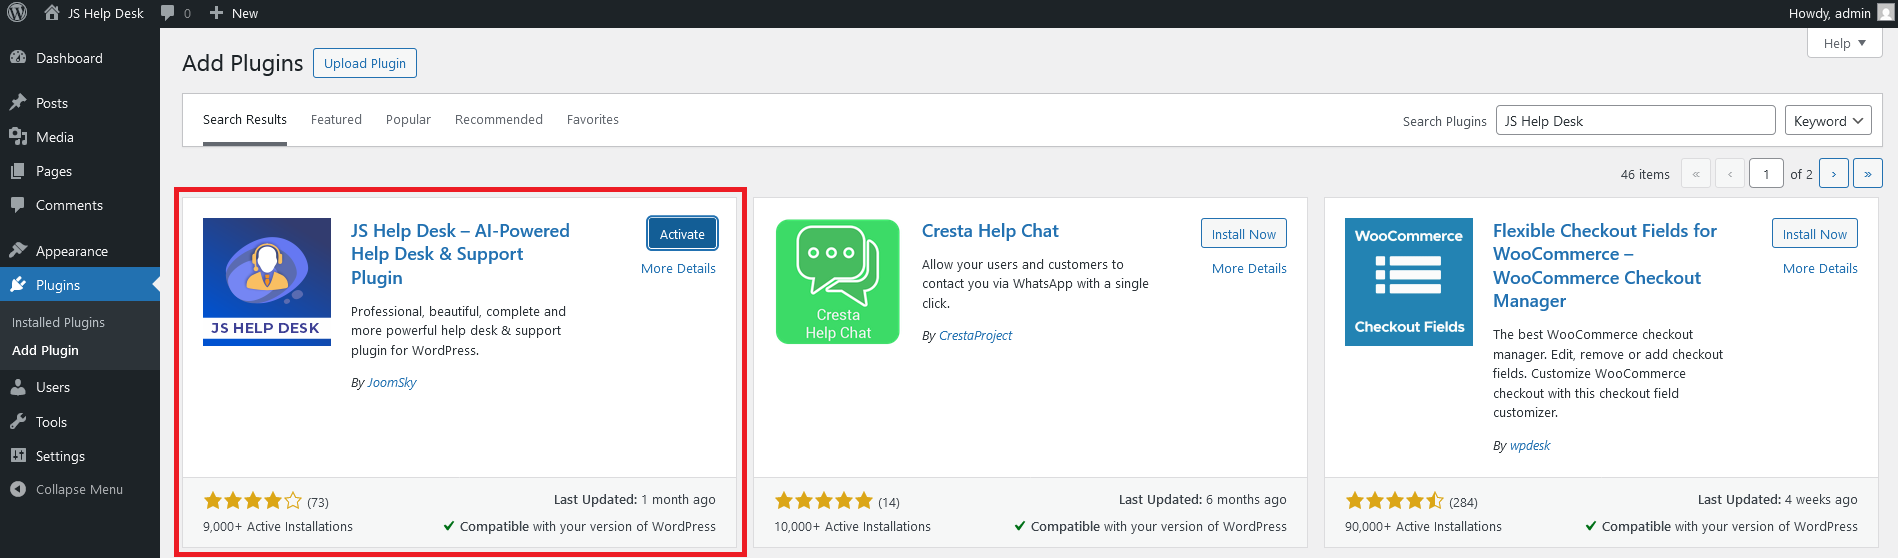
- Once the installation is complete, click on the Activate button to enable the plugin.
- Your JS Help Desk plugin is now successfully installed and activated!
Step 5:
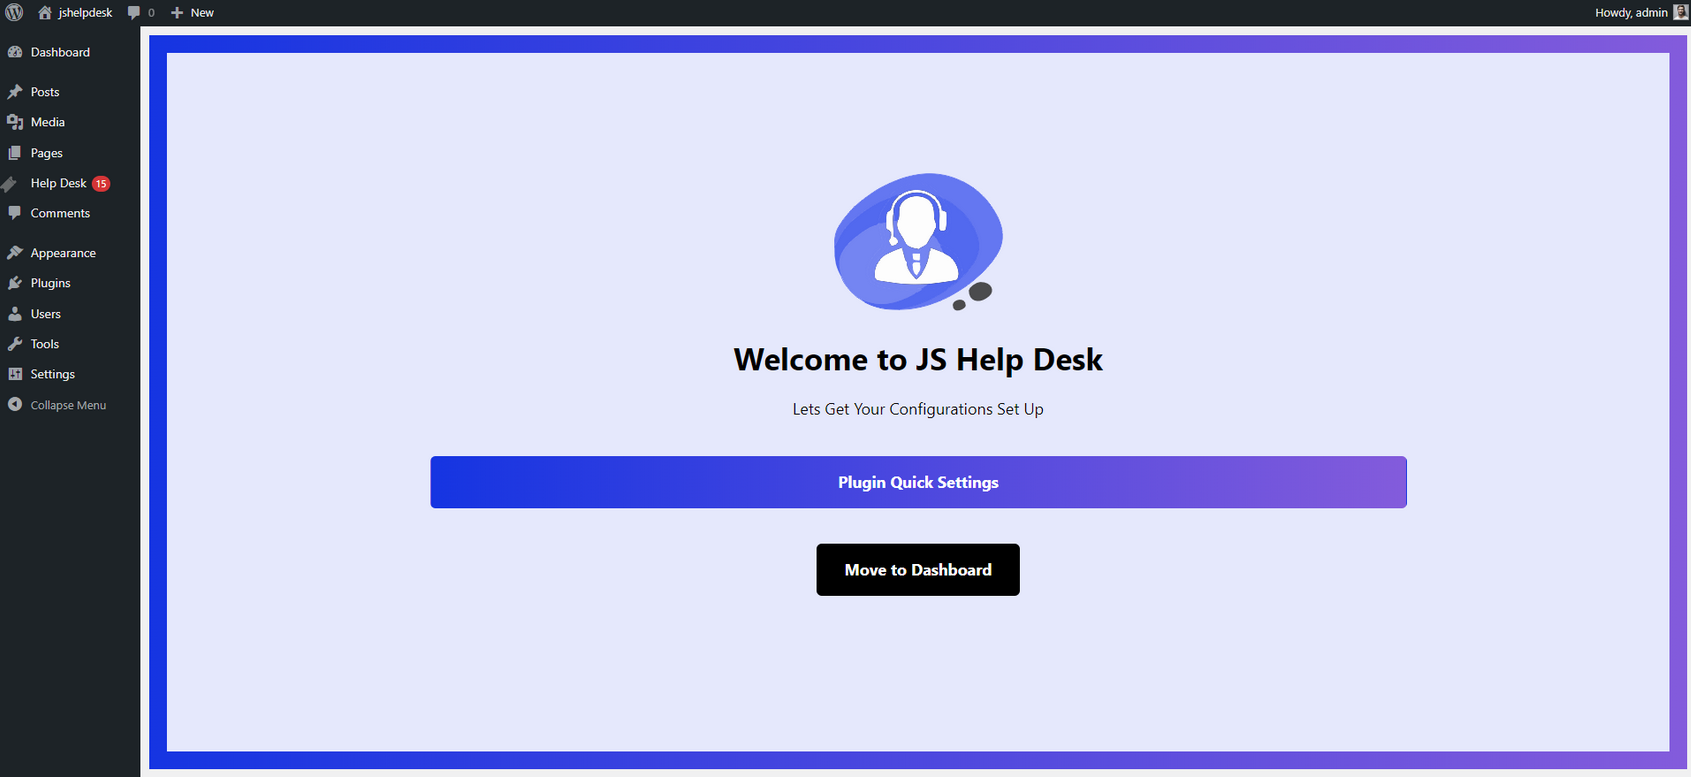
Once you activate the JS Help Desk plugin, you are greeted with a welcome screen like the one in your screenshot. The welcome page presents two main options: Plugin Quick Settings and Move to Dashboard.
Plugin Quick Settings
- If you are installing the plugin for the first time, it is recommended to go with Plugin Quick Settings. This guided setup allows you to configure basic settings step by step.
Move to Dashboard
- On the other hand, if you are already familiar with the plugin or want to explore it on your own, you can select ‘Move to Dashboard’. This will take you straight to the main JS Help Desk dashboard.
If you choose the Plugin Quick Settings, it will prompt you for some initial setup configurations.
General Configurations Overview for JS Help Desk
Step 6:
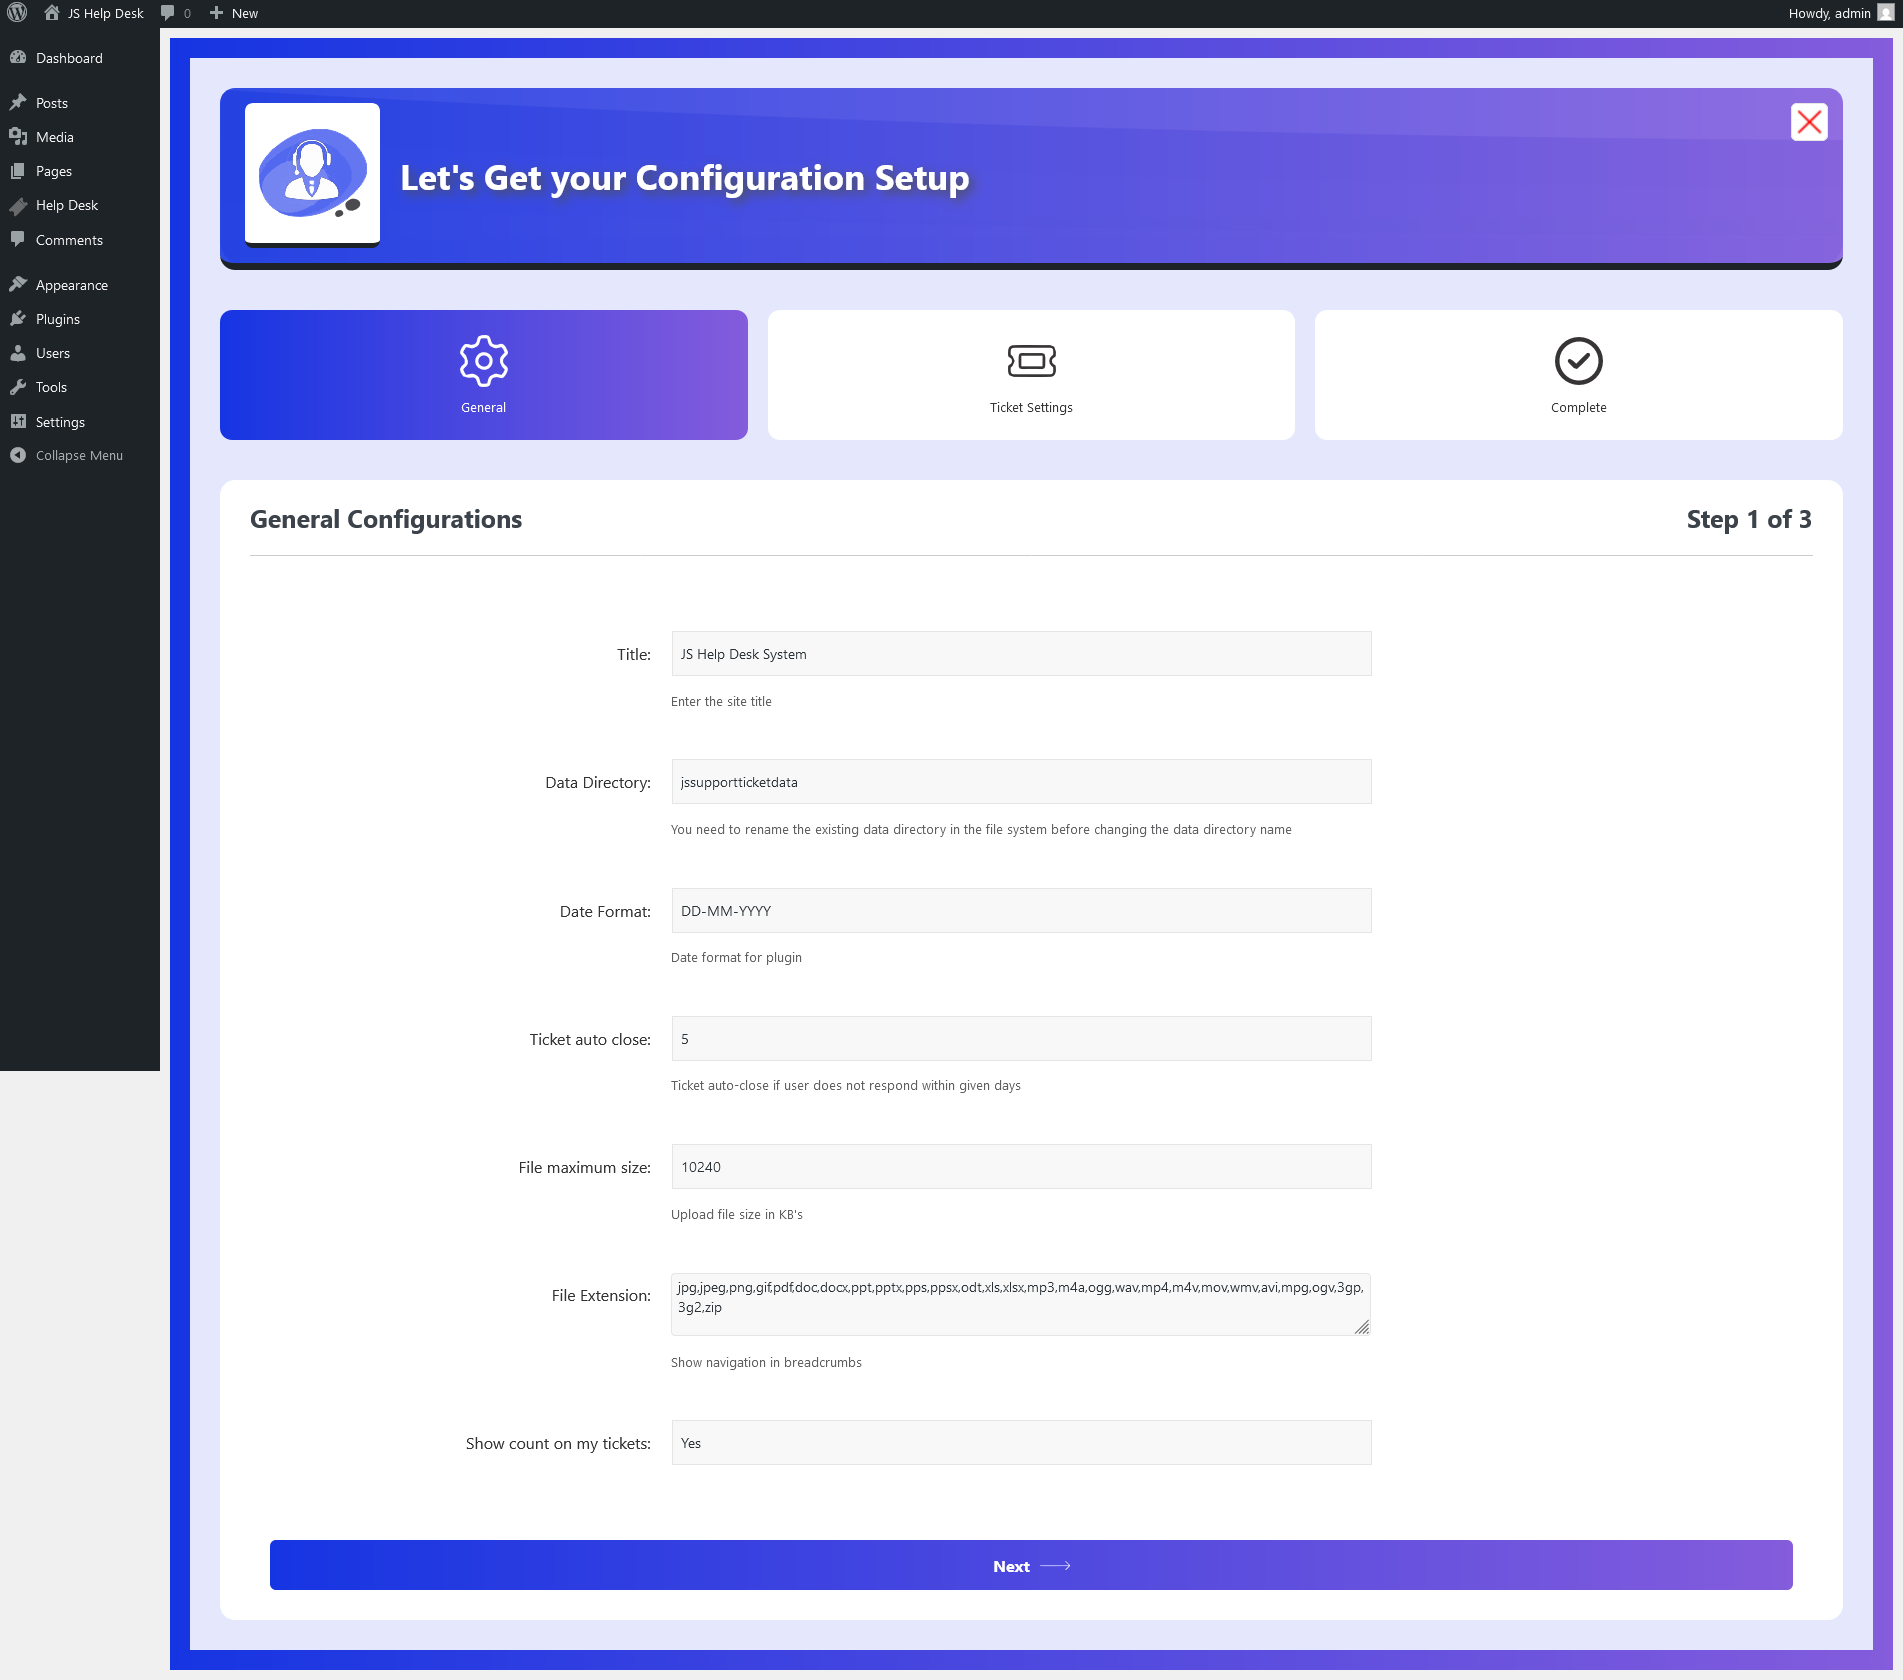
- Site Title: Add your site’s title for identification.
- Data Directory: Set a unique directory for storing all user data files.
- Date Format: Configure the plugin’s default date format to suit your preferences.
- Ticket Auto Close: Ticket auto-closes if the user does not respond within the given number of days.
- File Maximum Size: Set maximum upload file size in KBs.
- File Extension: It supports a wide range of file formats.
- Show Count On My Tickets: Configuration controls the visibility of the count in my tickets.
After completing the general settings, proceed to the next configuration step.
Ticket Settings Overview for JS Help Desk
Step 7:
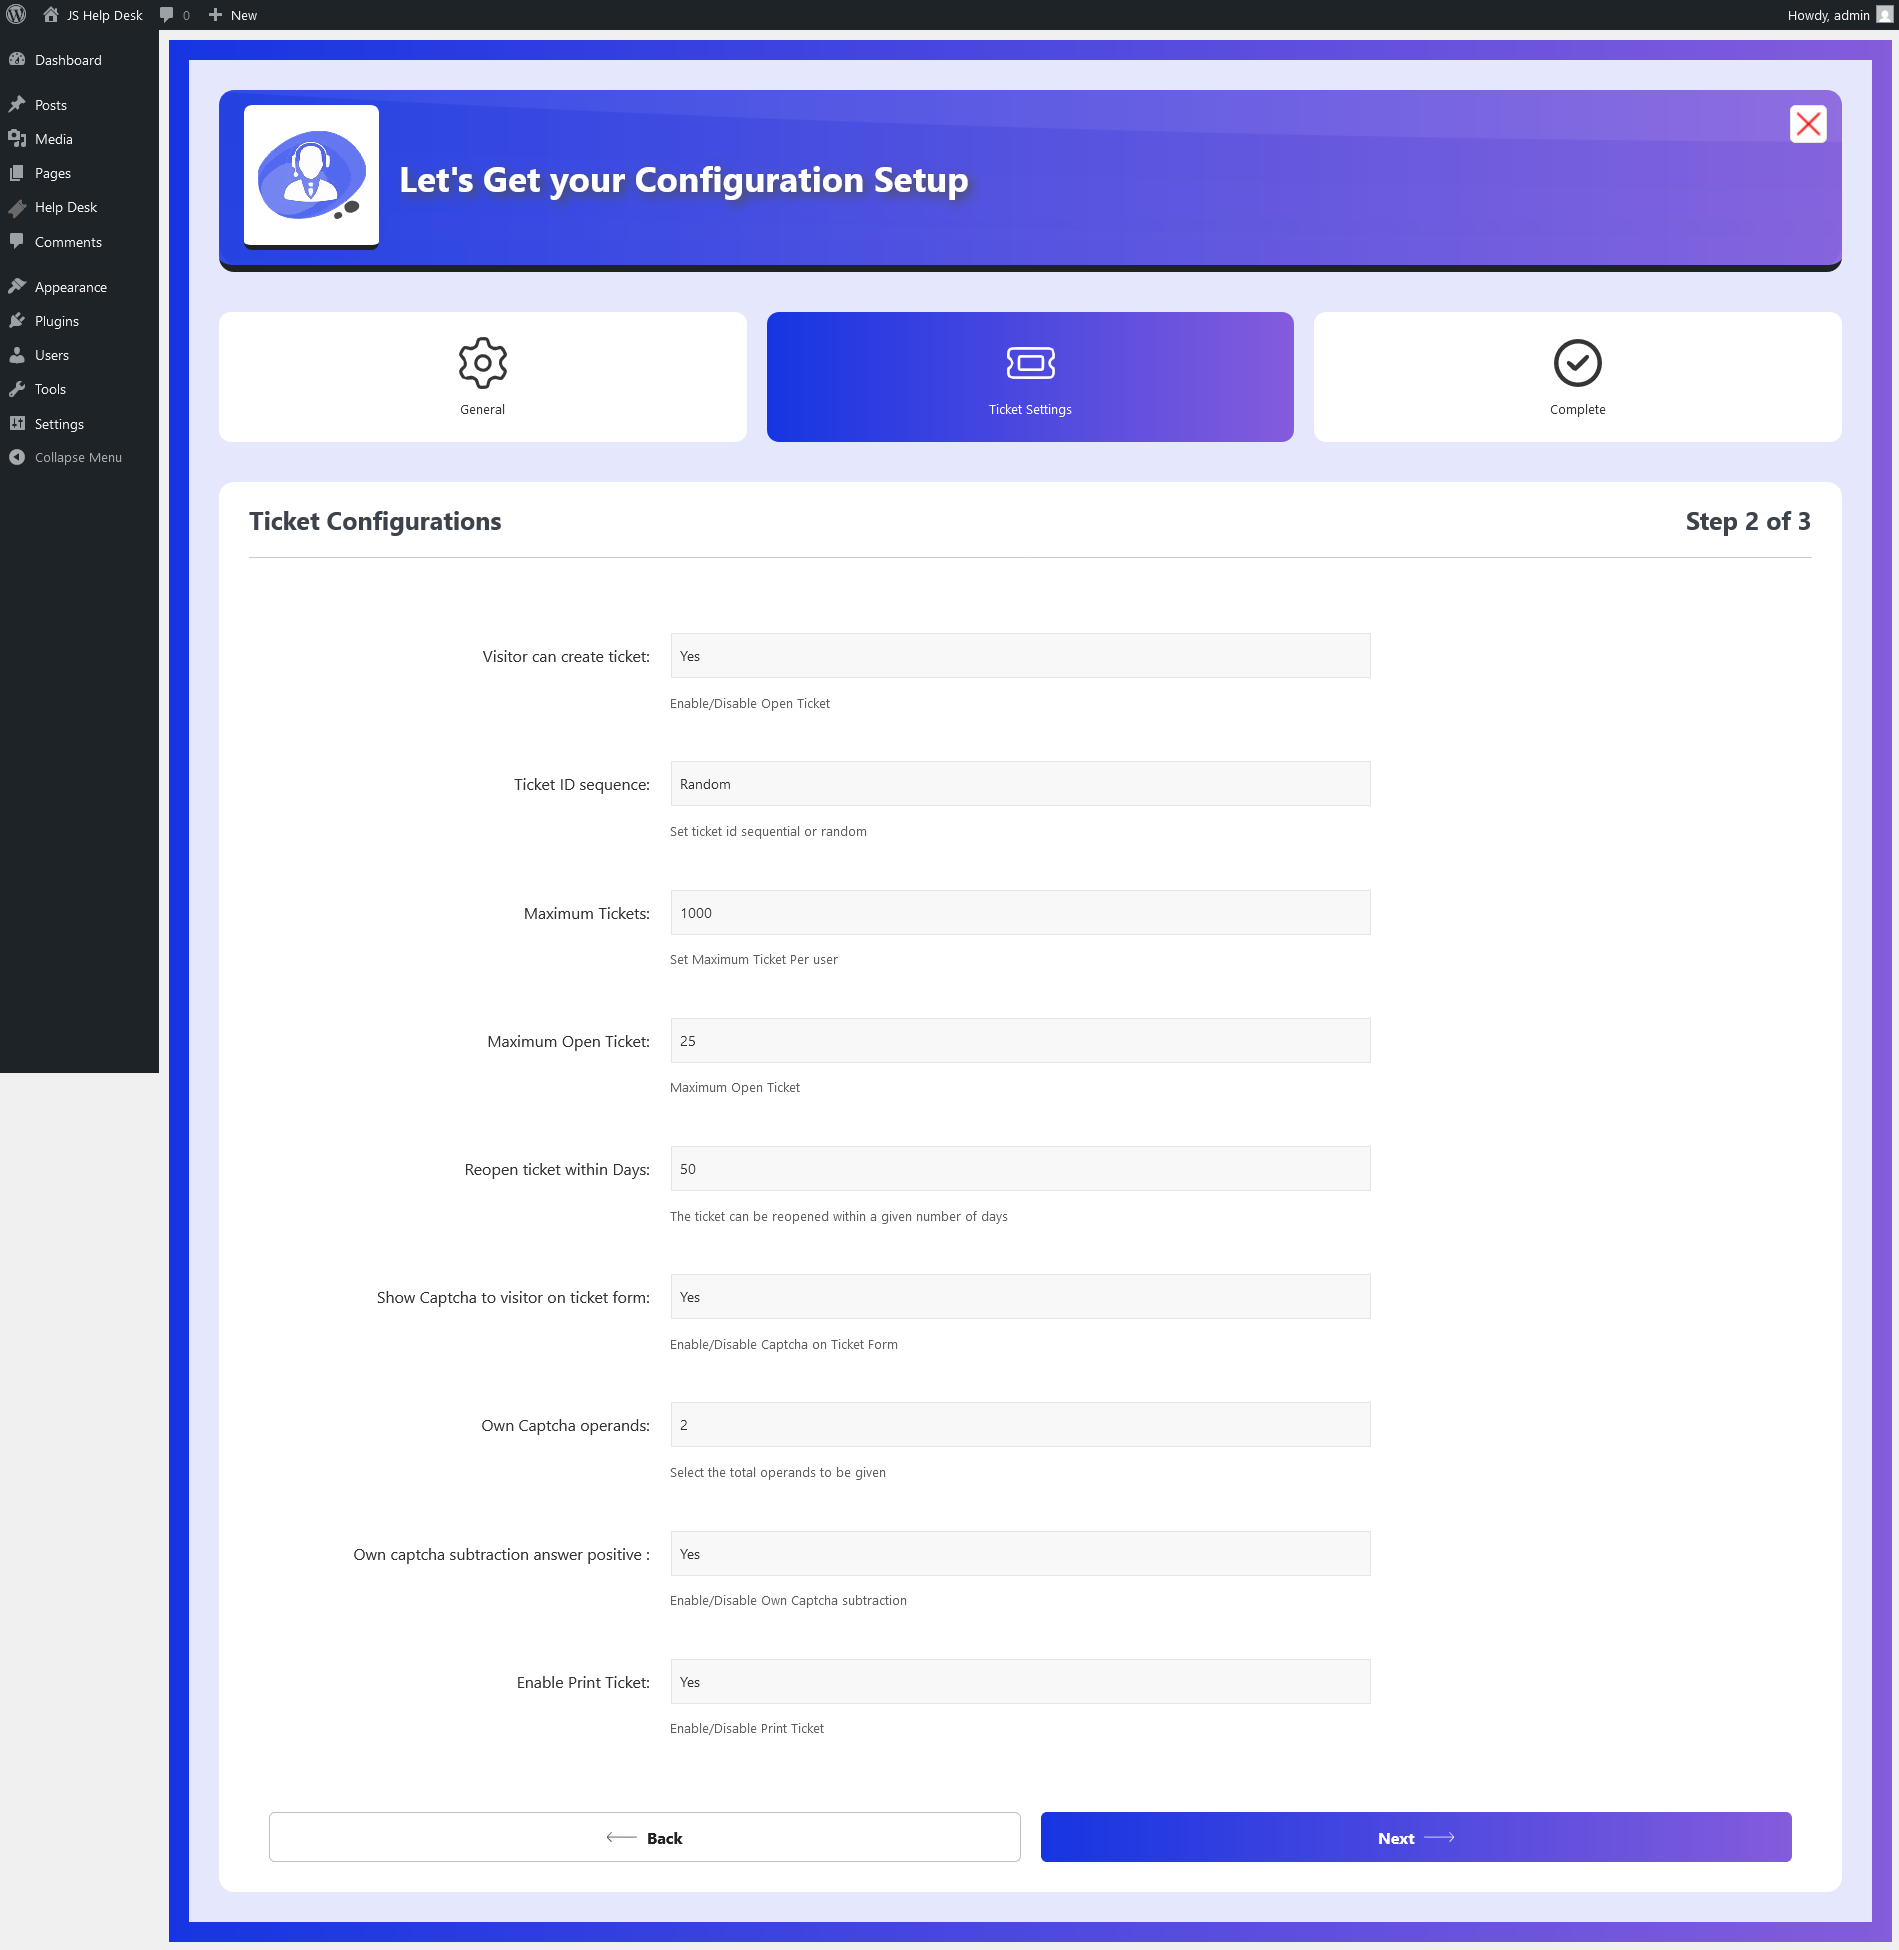
For Ticket Settings, the options we have here are:
- Visitor Can Create Ticket: Configuration controls whether the visitor can create a ticket or not.
- Ticket ID Sequence: Set ticket ID sequence to be sequential or random.
- Maximum Tickets: Set the maximum number of tickets per user.
- Maximum Open Tickets: Set the maximum number of open tickets.
- Reopen Tickets Within Days: Tickets can be reopened within a given number of days.
- Show Captcha to Visitor On Ticket Form: Enable/Disable captcha on ticket form.
- Own Captcha Operands: Select the total operands to be given.
- Own Captcha Subtraction Answer Positive: Enable/Disable own captcha subtraction.
- Enable Print Ticket: Enable/Disable print ticket.
After completing the Ticket Settings, proceed to the next configuration step.
Configurations Complete
Step 8:
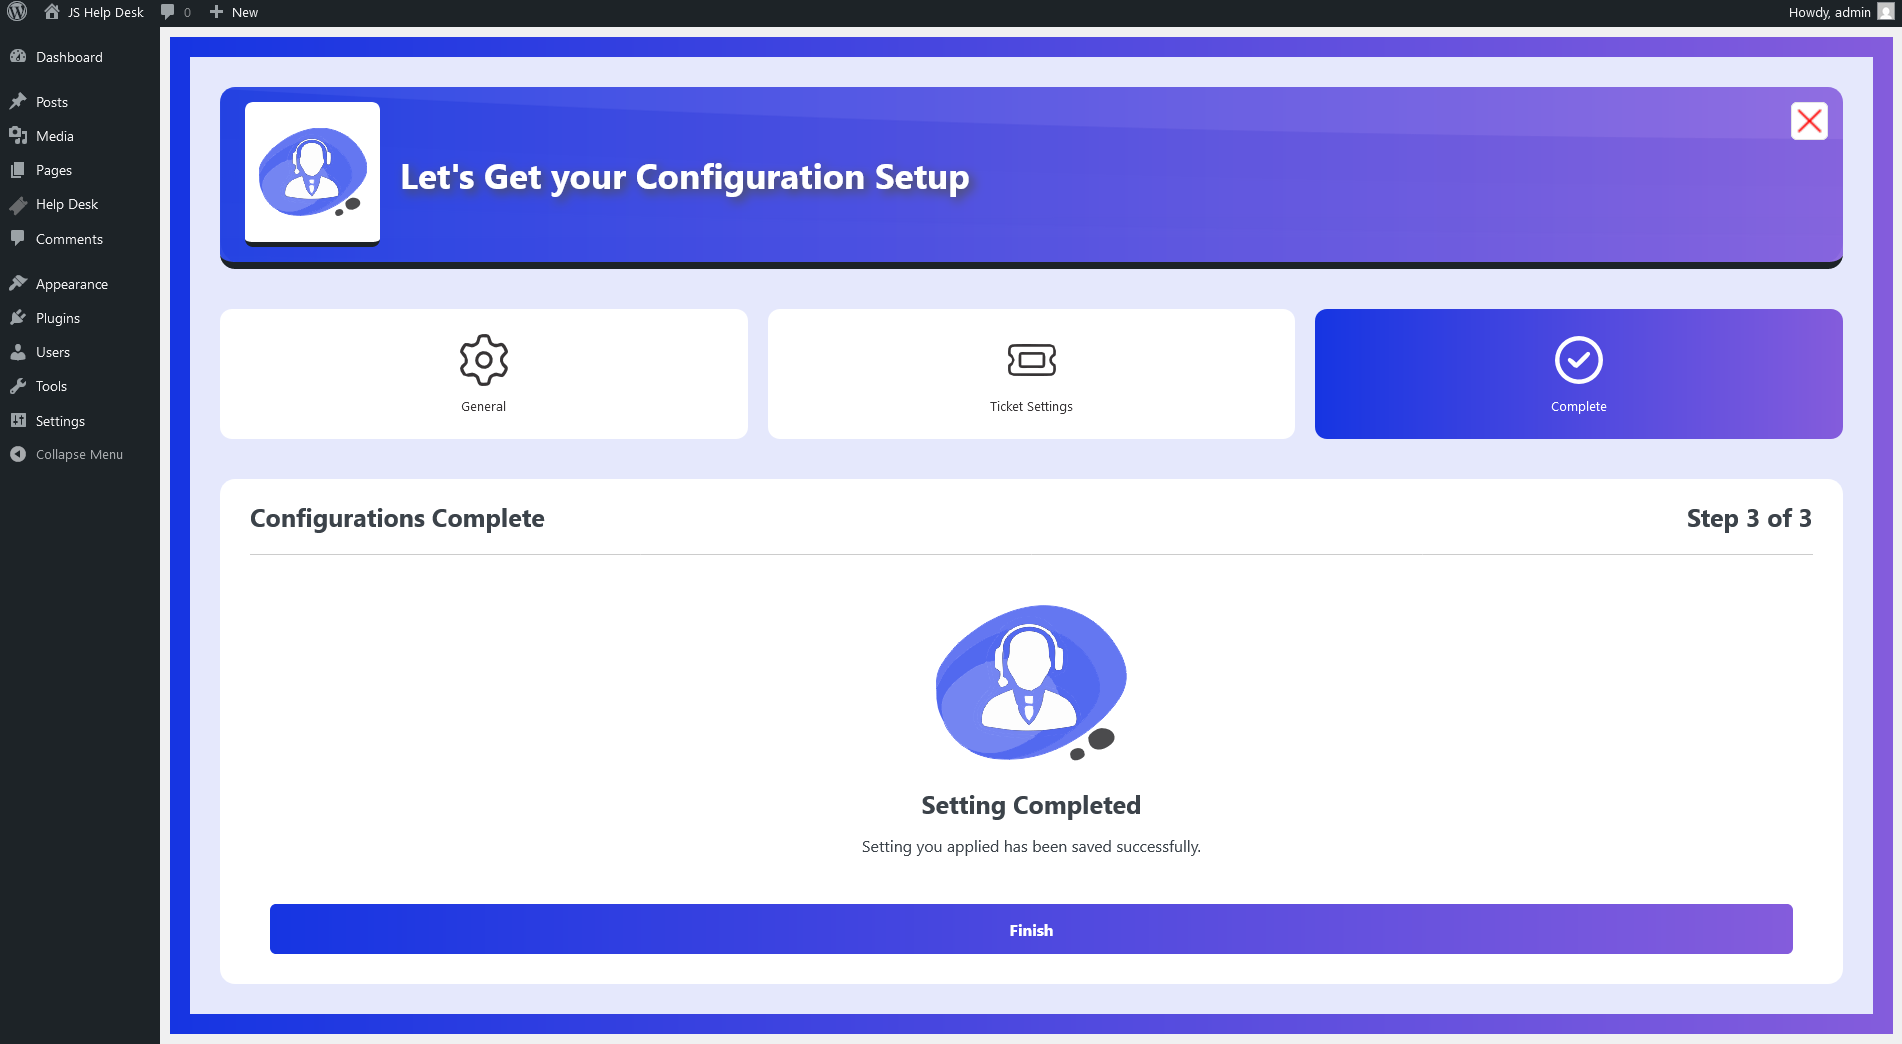
After configuring the settings, proceed to finalize the setup.
Help Desk Dashboard
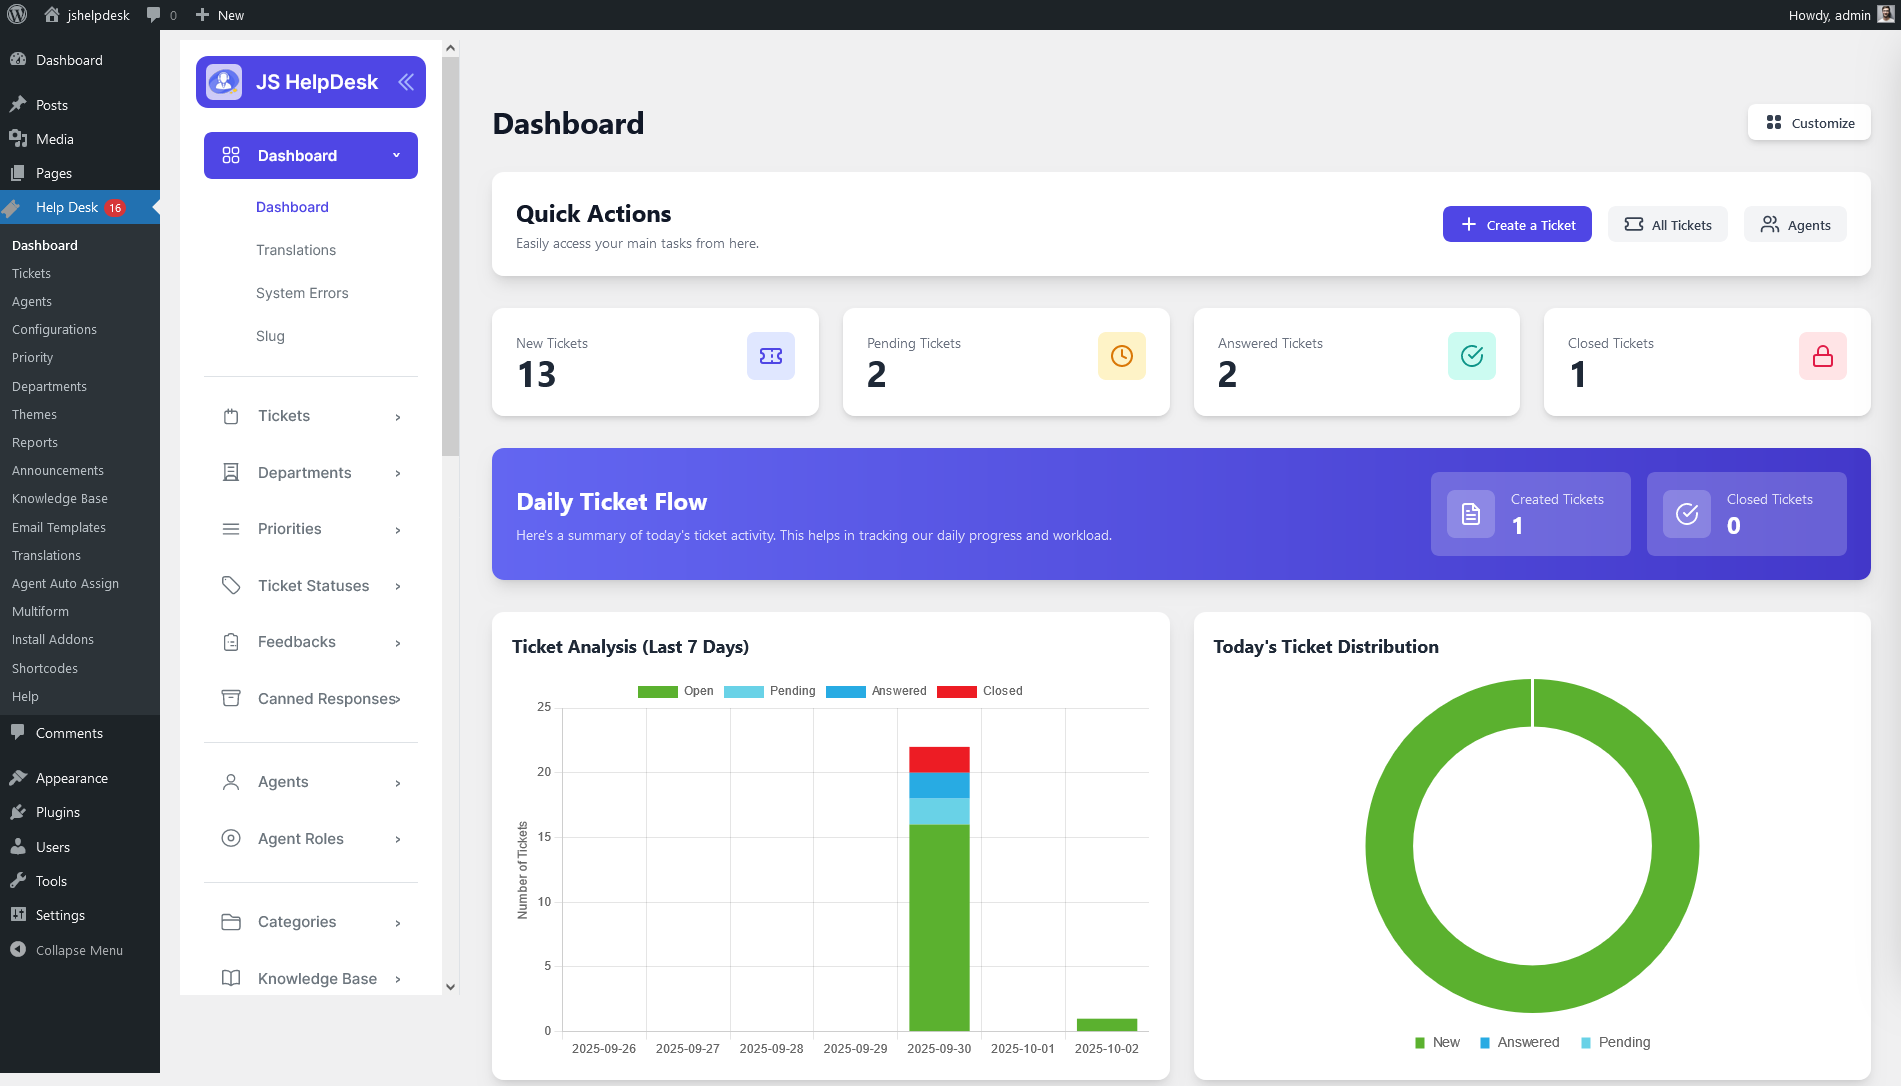
After completing the installation process, the Hep Desk system is ready for use.
Another Way to Install JS Help Desk
You can download the JS Help Desk .zip file from here
Upload the JS Help Desk Plugin
Step 1: Log in to WordPress Admin
Step 2: Click on the Plugins
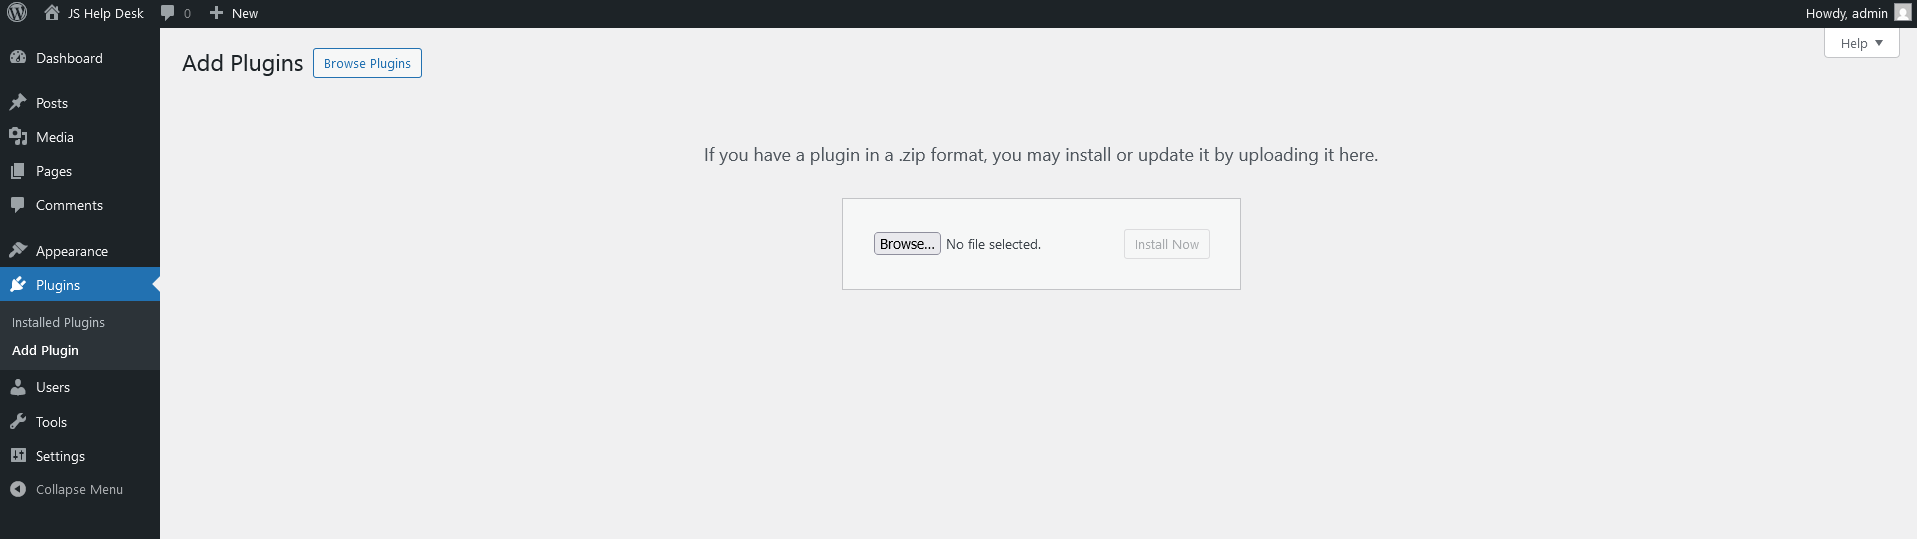
Step 3: Click on the Add Plugin
Step 4: Click on the Upload Plugin
JS Help Desk is also provided as a .zip file. Click on the Browse button.
-
Select the downloaded file from your computer (e.g.,
js-helpdesk.zip). -
Click Install Now.
-
WordPress will now upload and extract the plugin files
- After installation is complete, you will see an Activate Plugin button. Click on it to enable JS Help Desk.