Push Notifications In The JS Help Desk!
Firebase Notifications
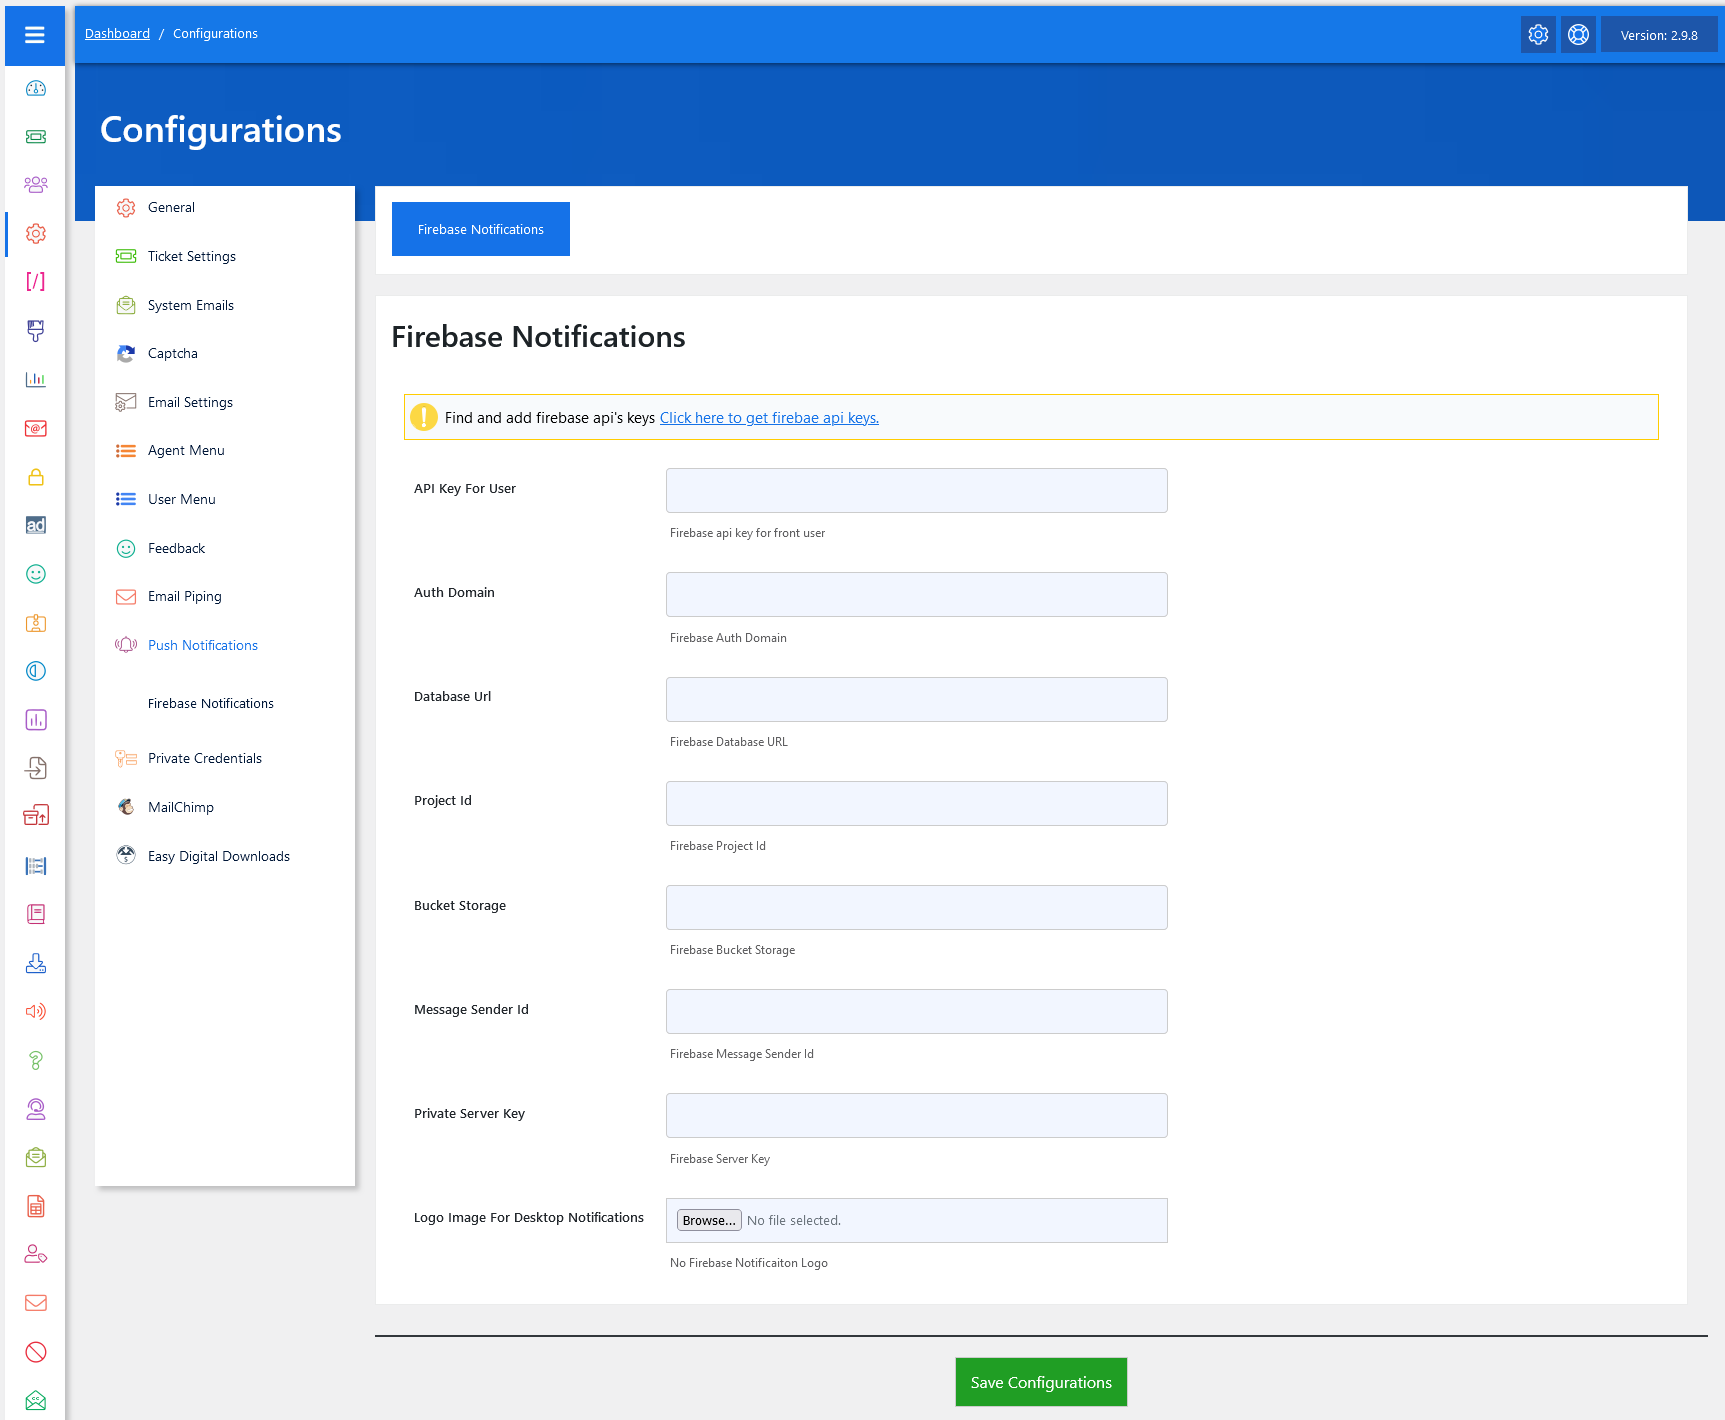
From your admin dashboard, navigate to the Admin Dashboard > Dashboard Menu > Configurations >Push Notifications. On the Firebase Notifications page, you will find various options for the admin to manage notifications. All details about Firebase Notifications and how the admin manages them are discussed here.
Push notifications in the JS Help Desk are designed to instantly alert users, agents, or admins about important ticket activities, even if they are not actively checking the help desk dashboard or their email. This feature enhances responsiveness and ensures no critical update goes unnoticed.
Push notifications are real-time pop-up alerts that appear on a user’s browser or device. Unlike emails, which may get delayed or filtered into spam, push notifications provide instant updates within the WordPress site or browser.
For example:
-
When a customer creates a new ticket, the admin and the assigned agent get a push notification.
-
When an agent replies, the customer sees a notification immediately in their account.
-
If a ticket status changes (e.g., moved to Closed or Overdue), the relevant user receives a quick alert.
How To Get Firebase API Key
To get the Firebase API Key, follow the steps below.
Step 1:
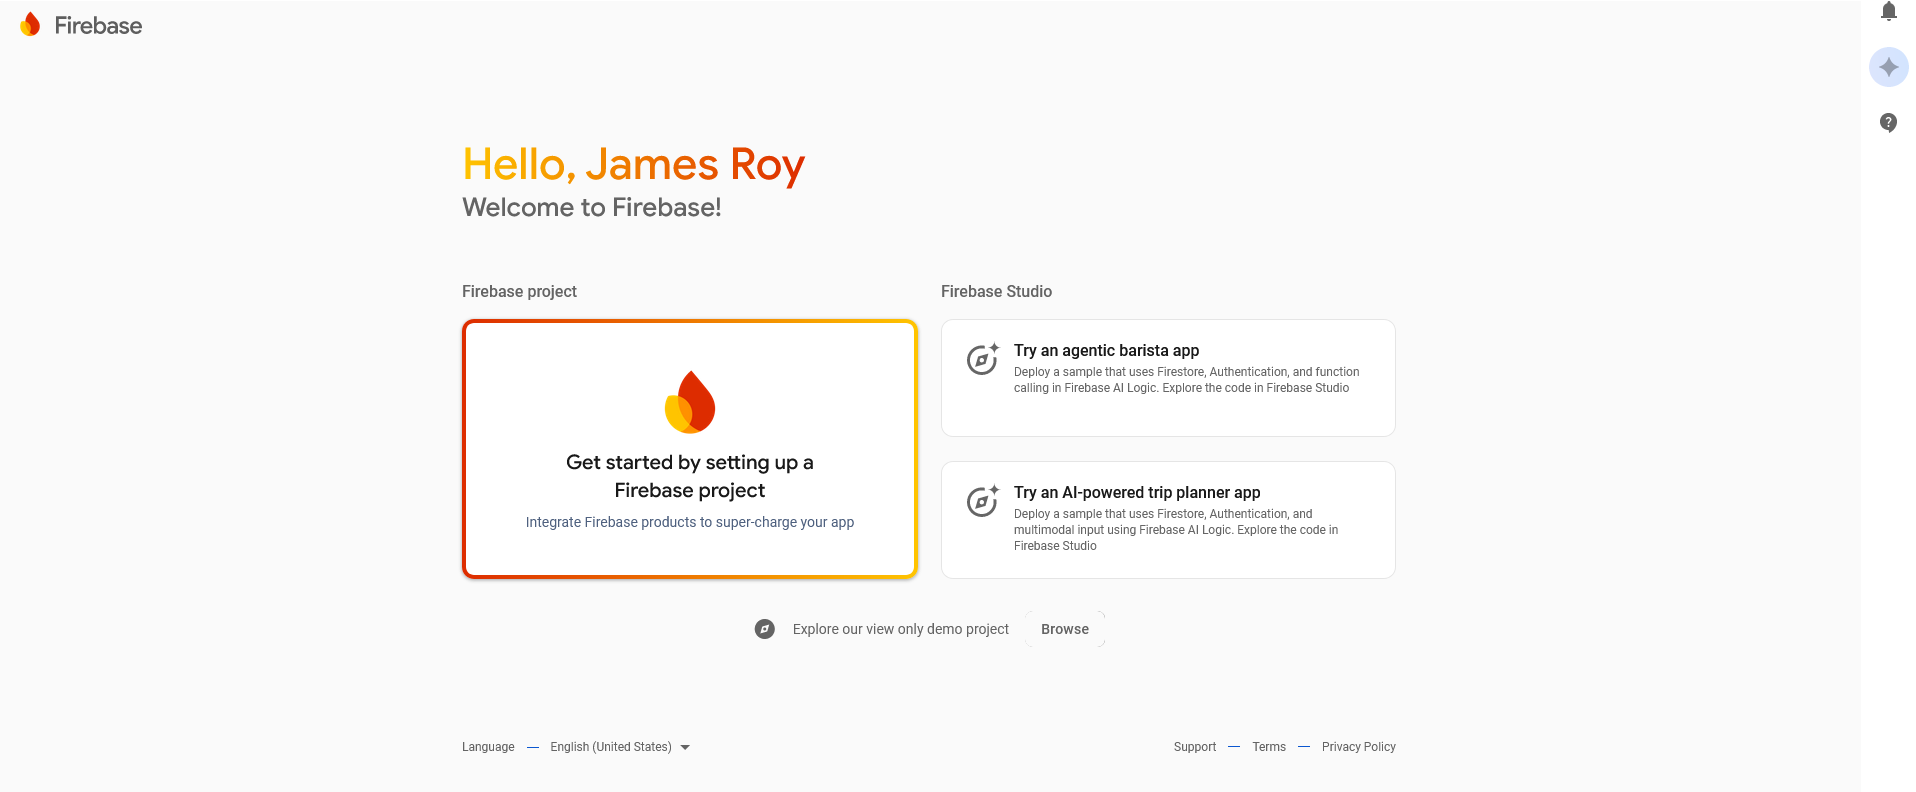
Find firebase api’s keys. Click here to get firebae api keys.
Click on the Firebase Project button.
Step 2:
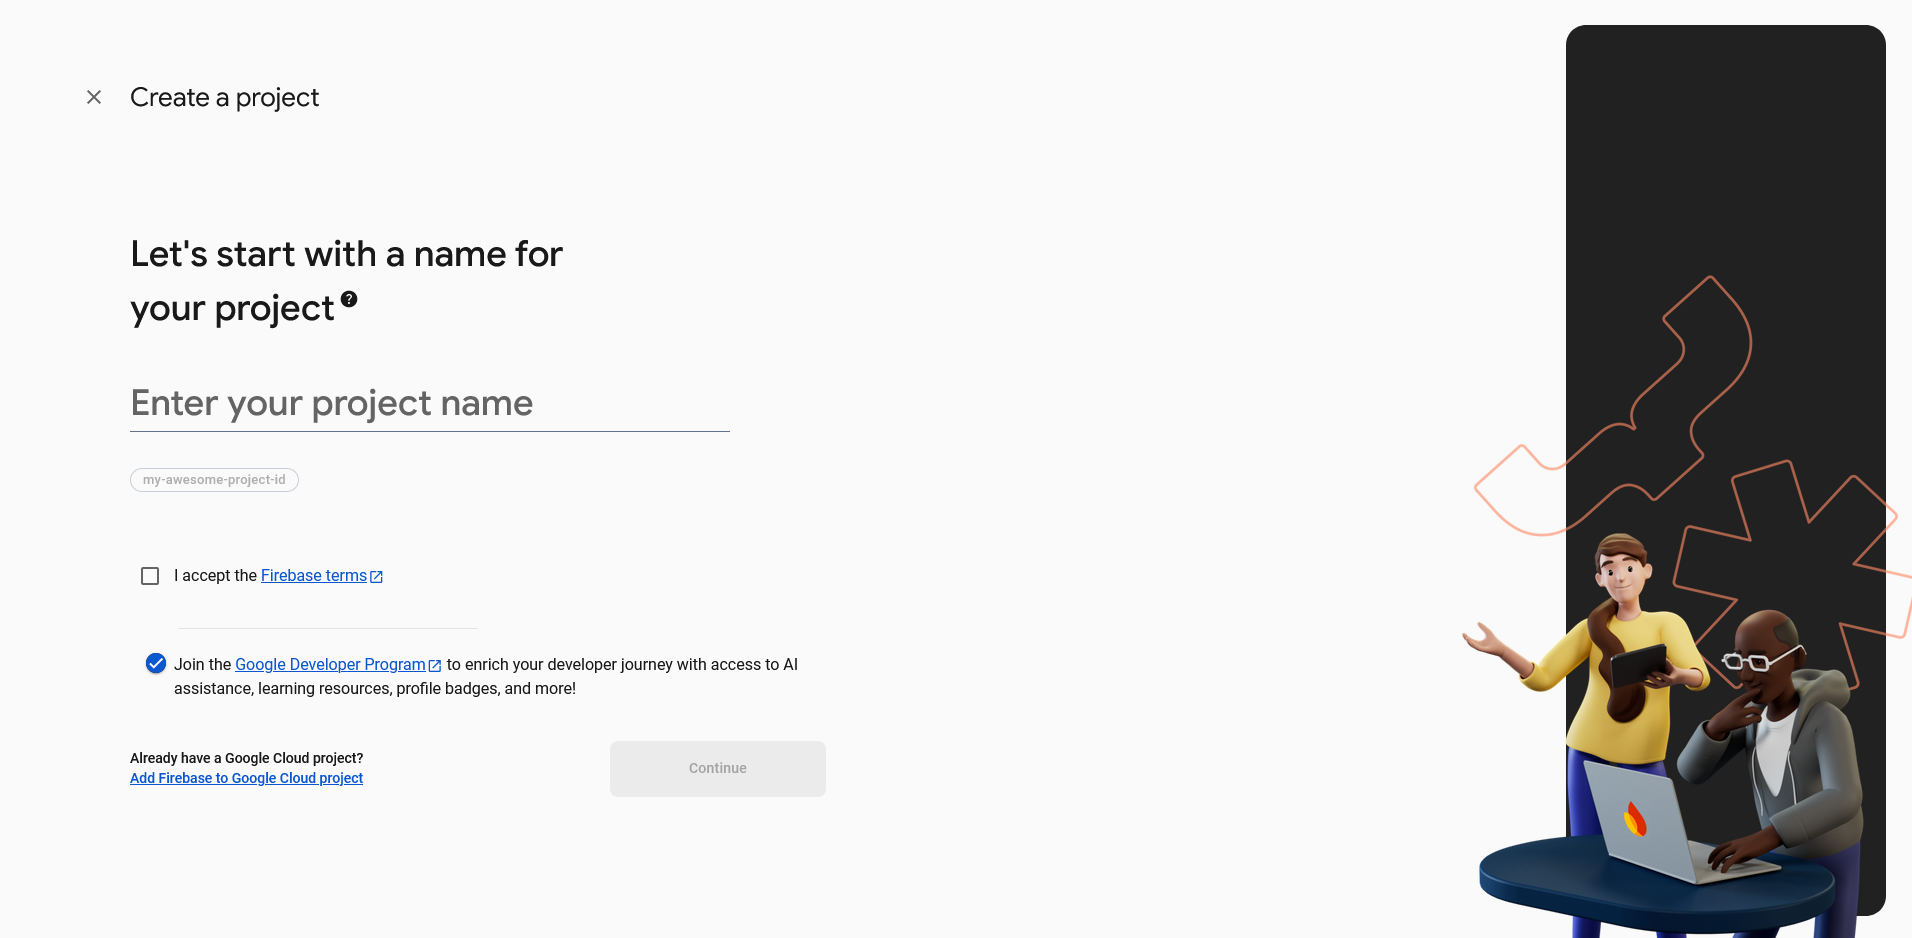
Enter your project name and accept the Firebase terms, and then click on the continue button.
Step 3:
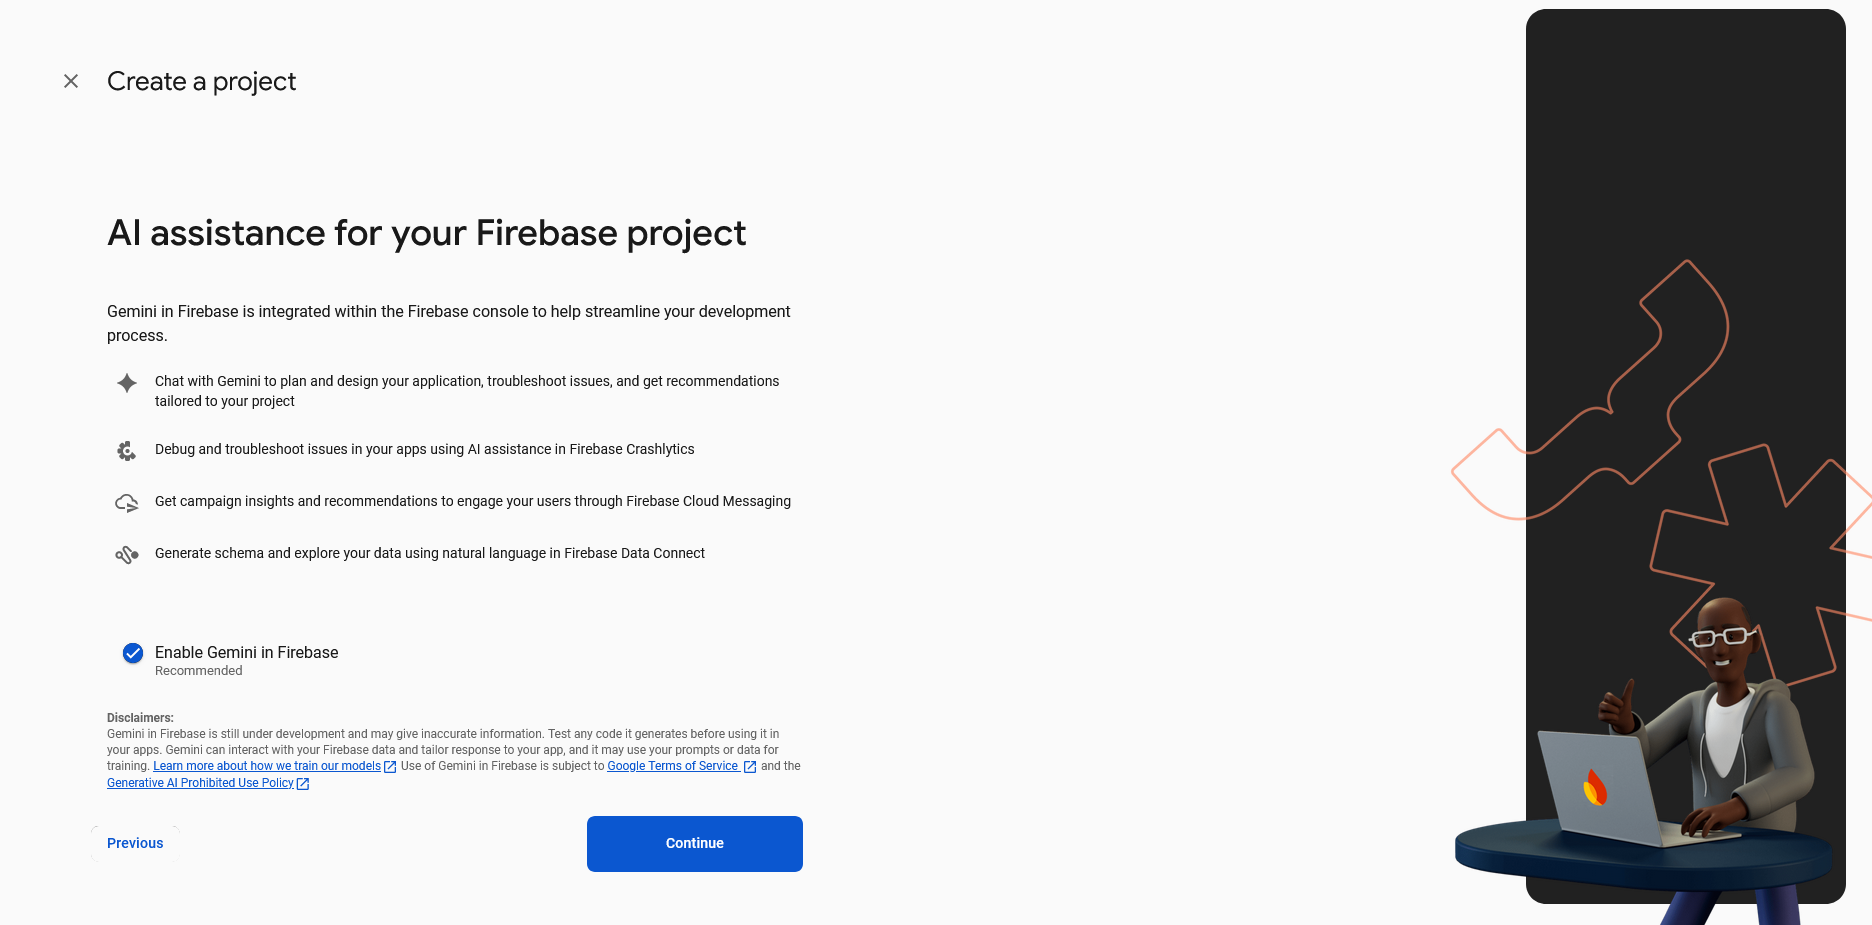
Click on the continue button.
Step 4:
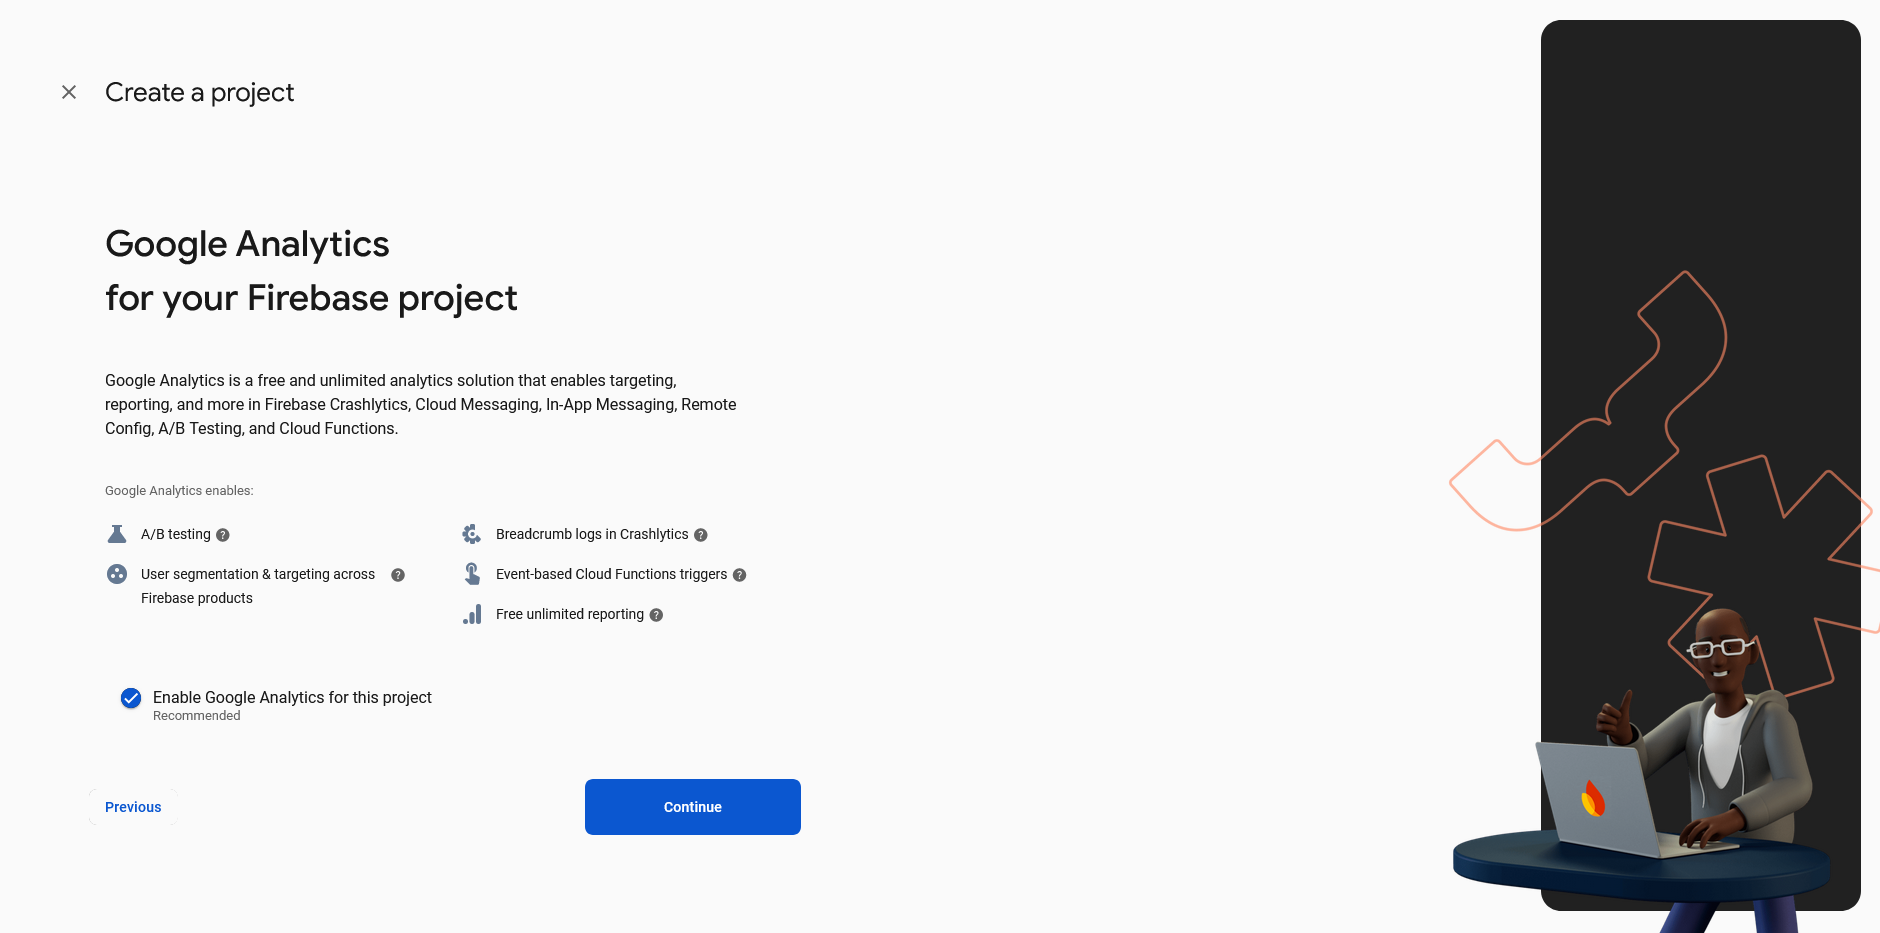
Enable Google Analytics for this project and click on the continue button.
Step 5:
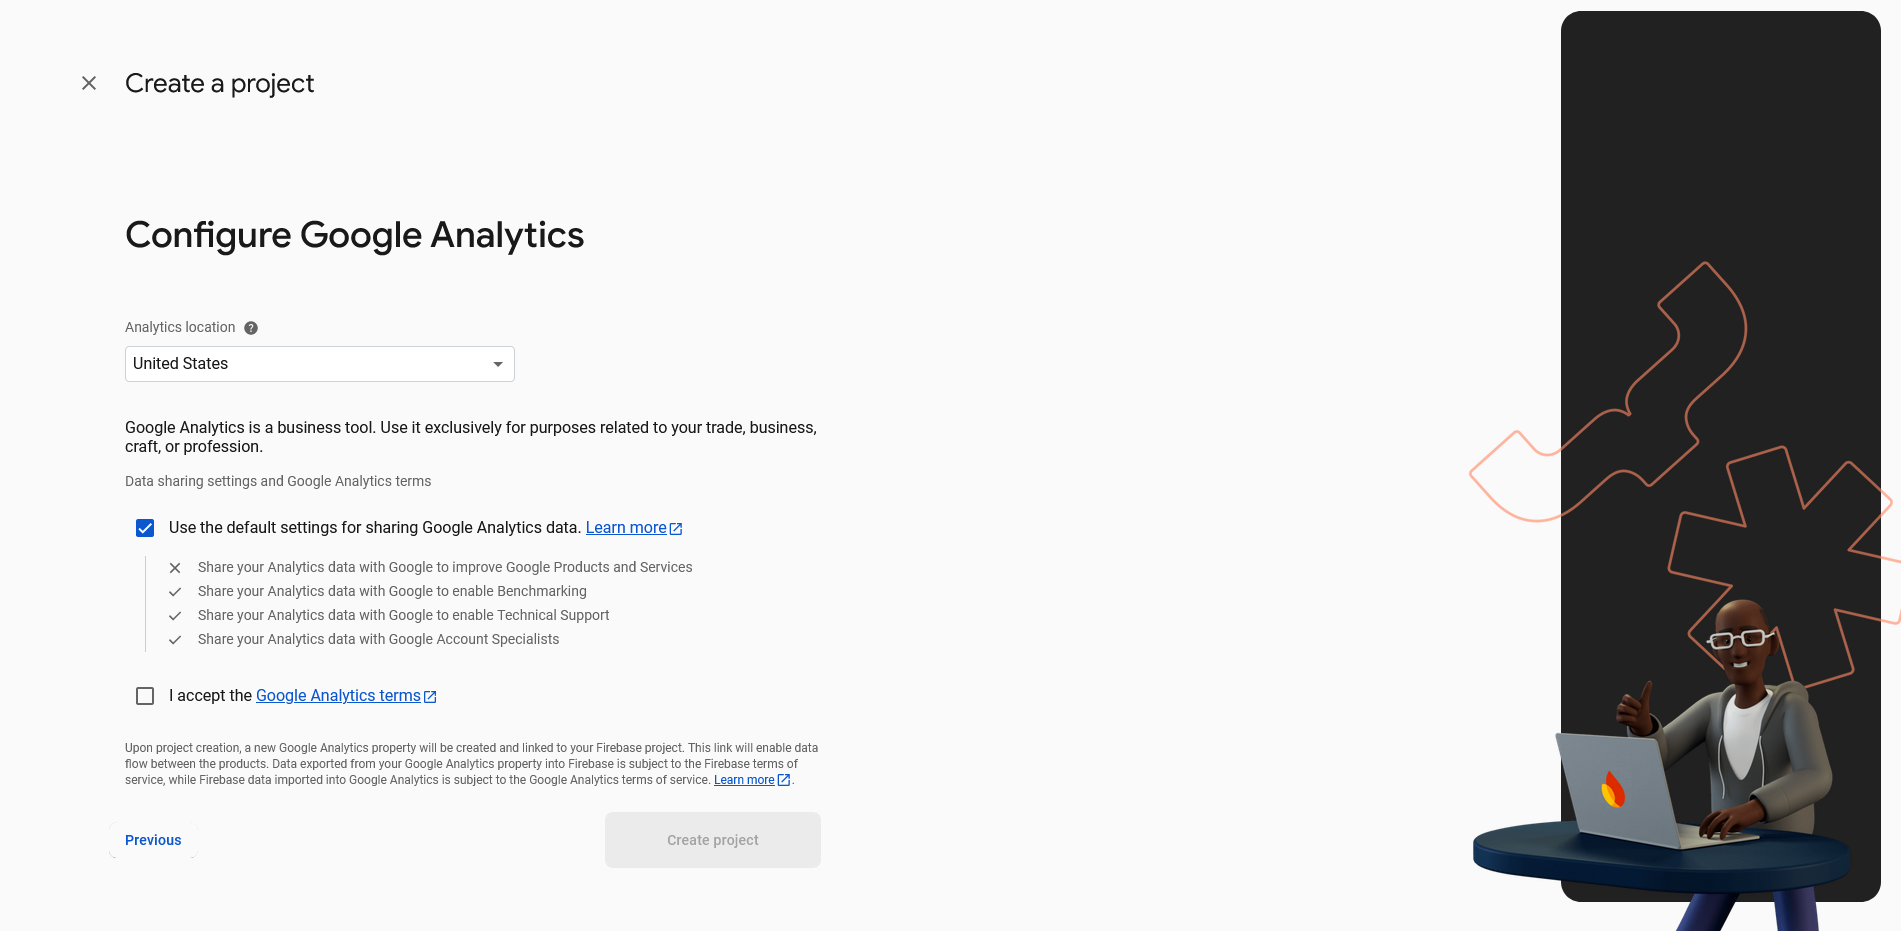
Select the Analytics Location from the combo box. Accept the Google Analytics Terms and then click on the Create Project button.
Step 6:
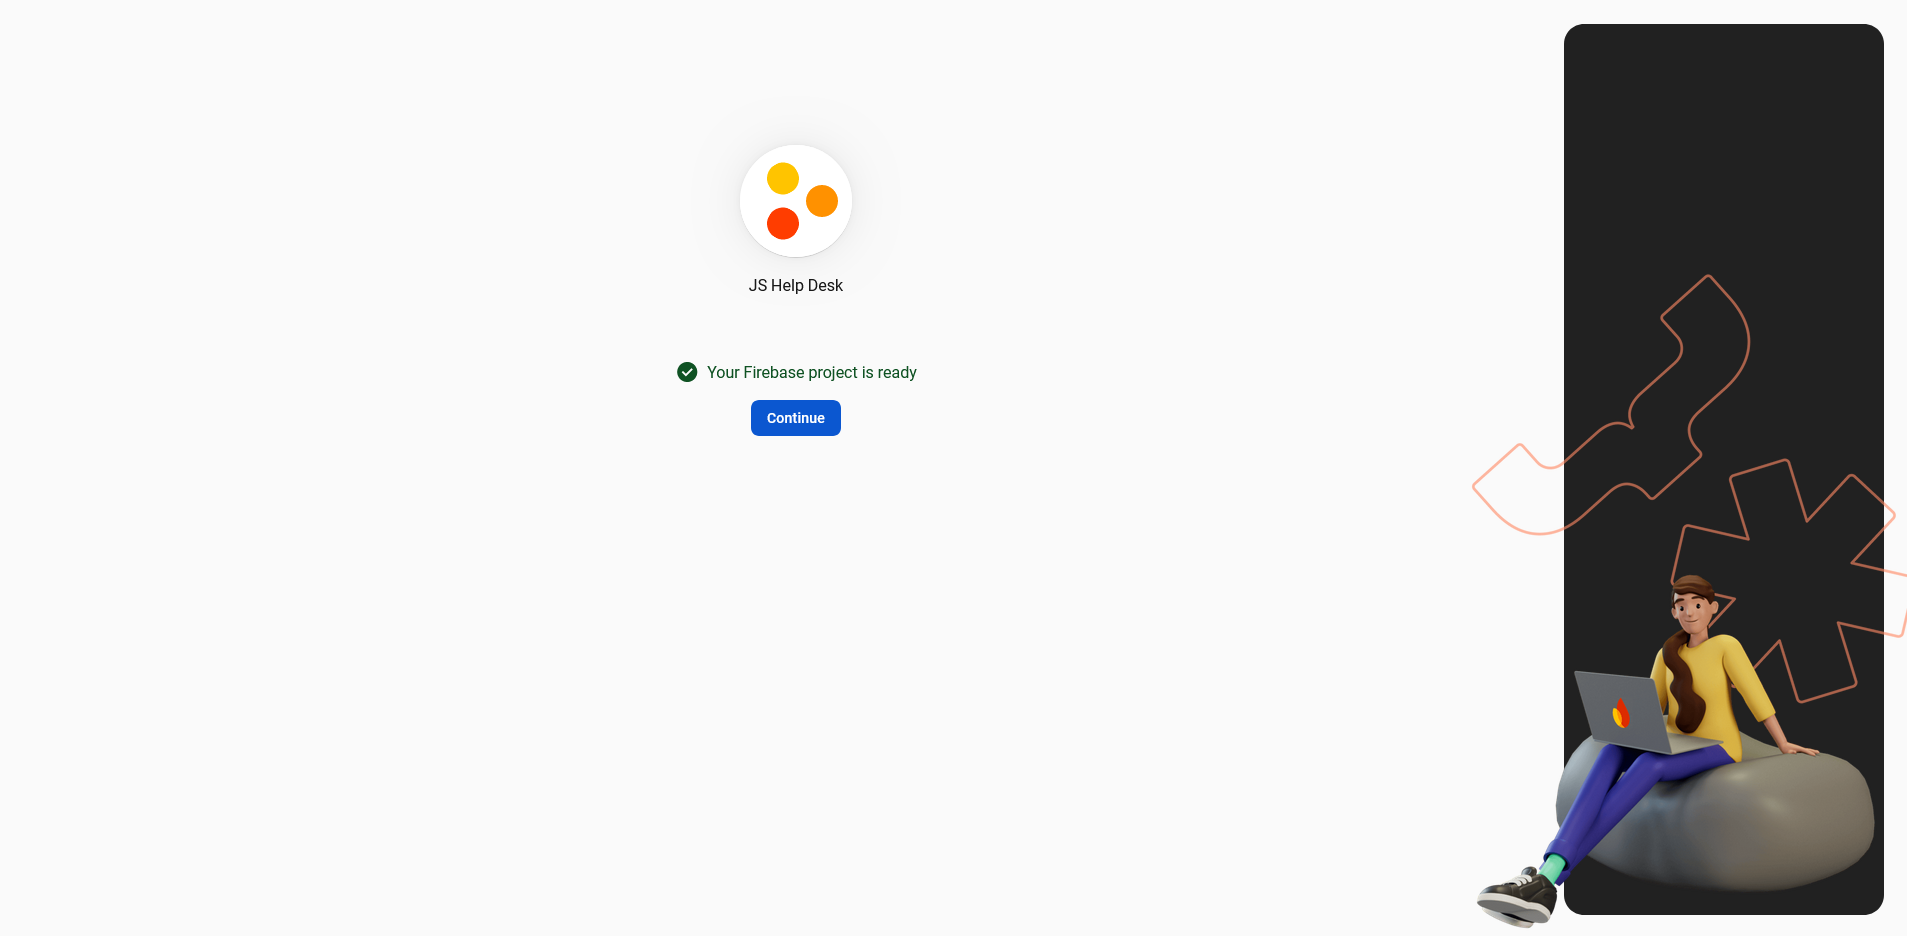
After that, your Firebase Project is ready. Click on the continue button.
Step 7:
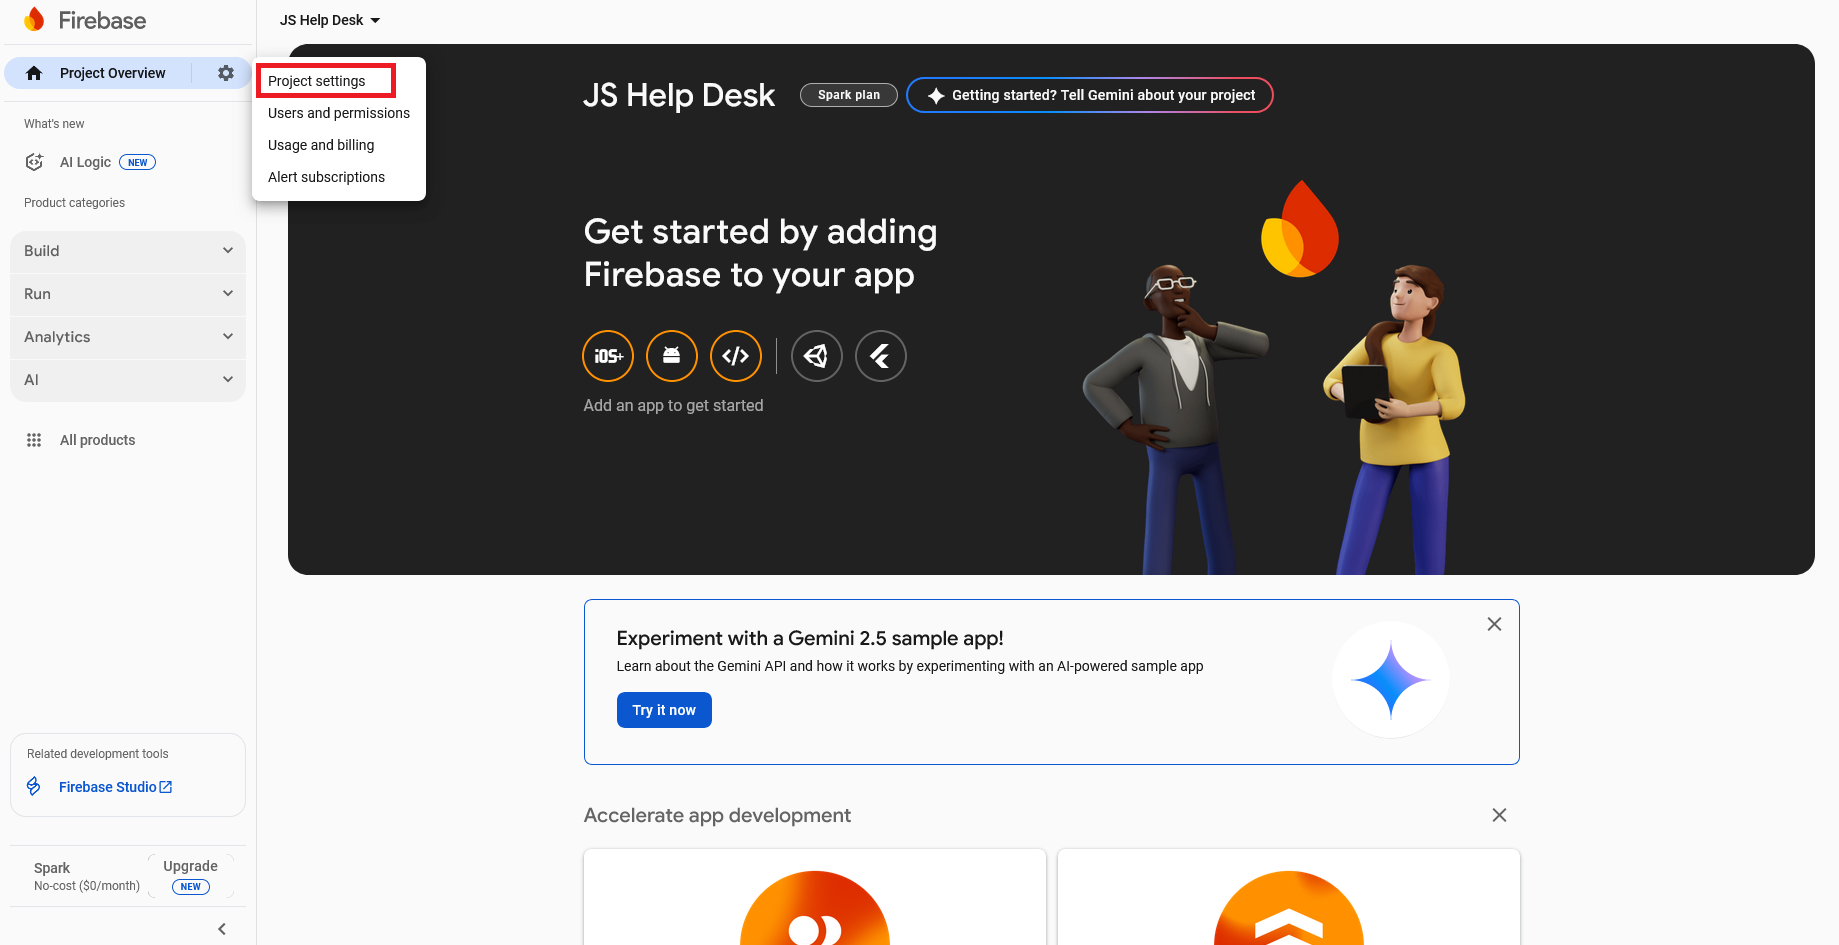
Click on the settings button and select project settings.
Step 8:
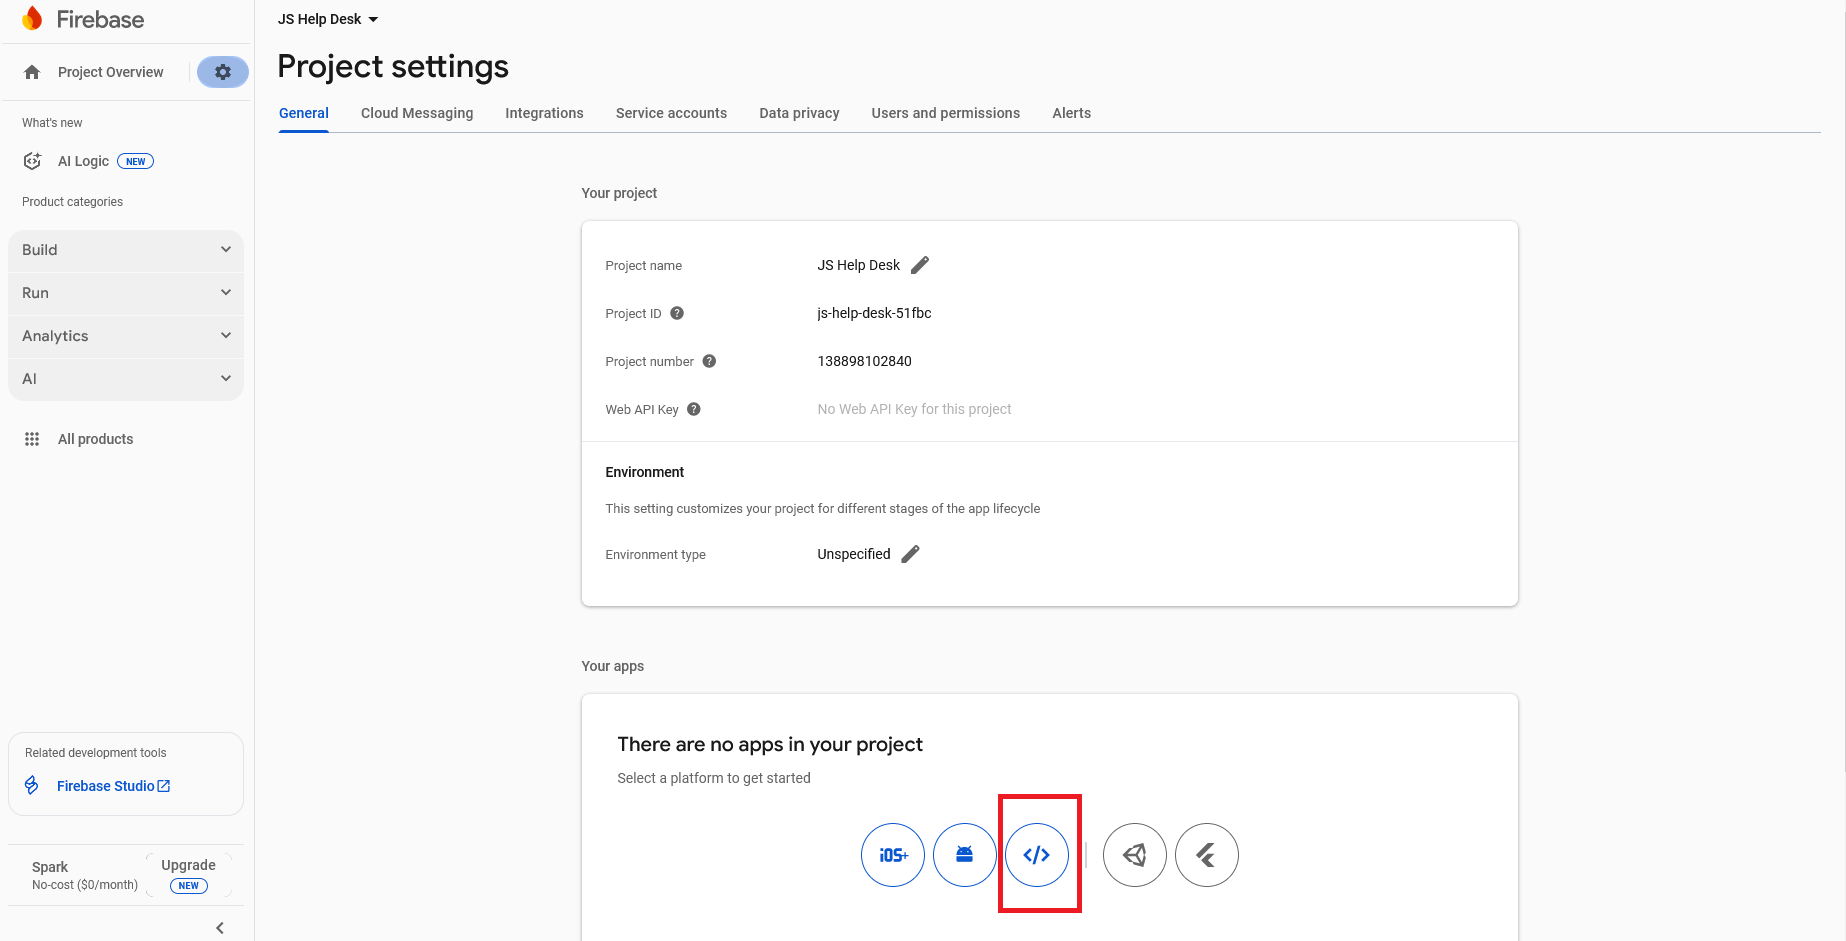
Select a platform to get started.
Step 9:
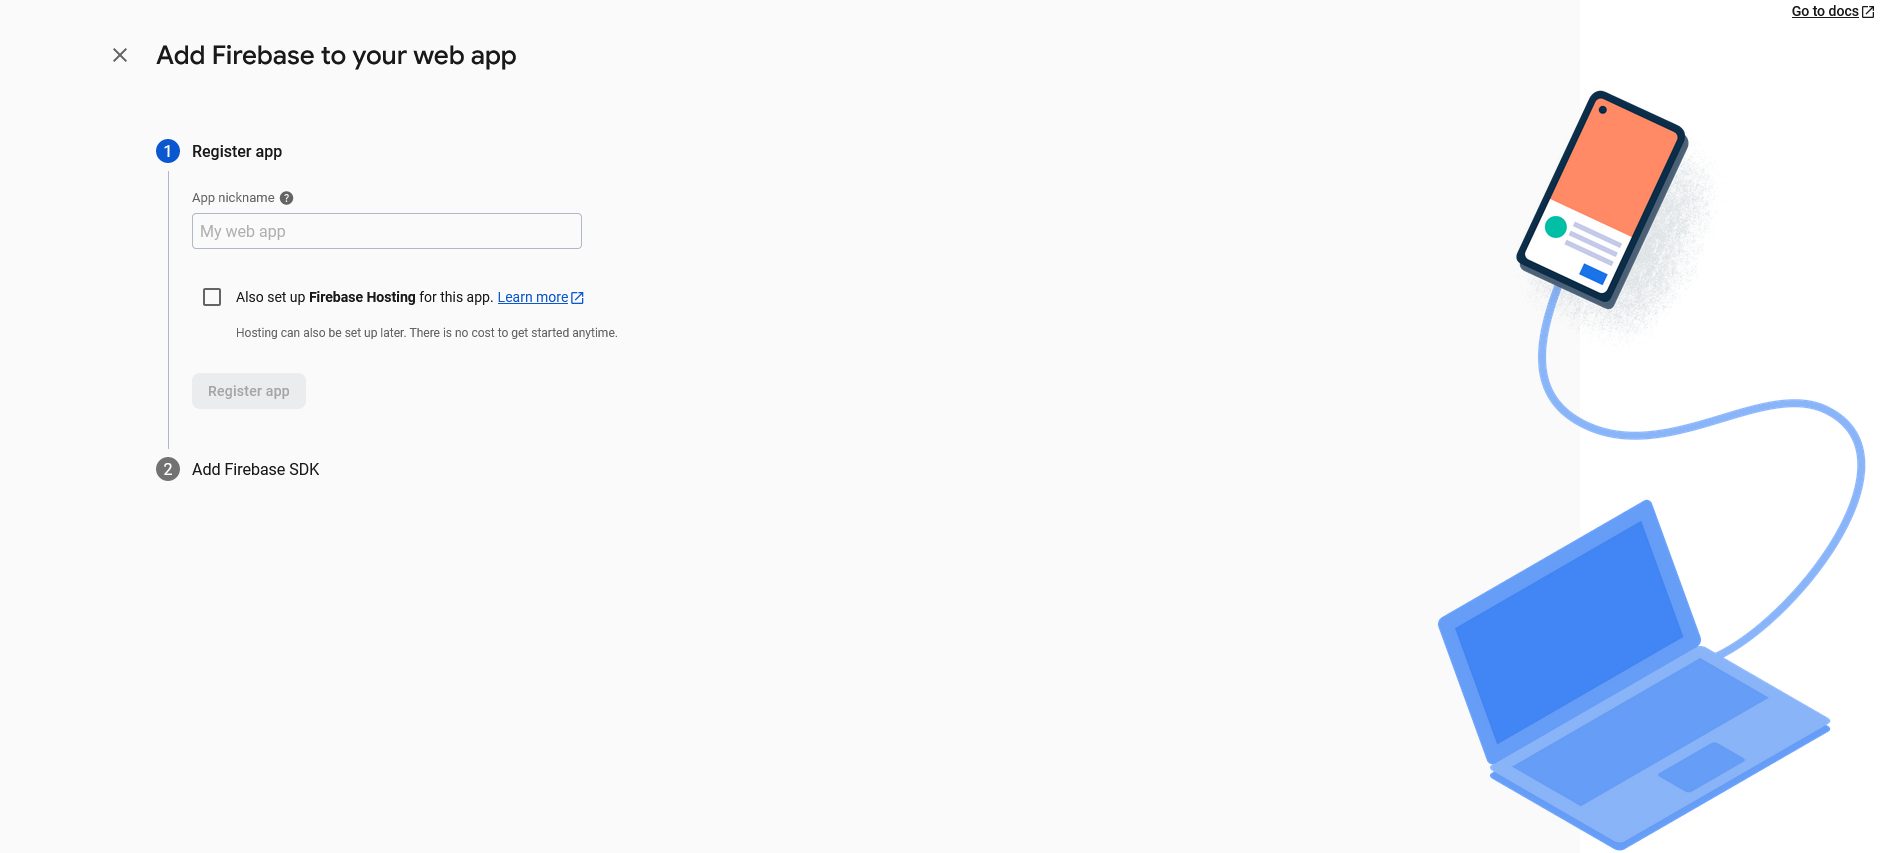
Enter the web app name and click on the register app button.
Step 10:
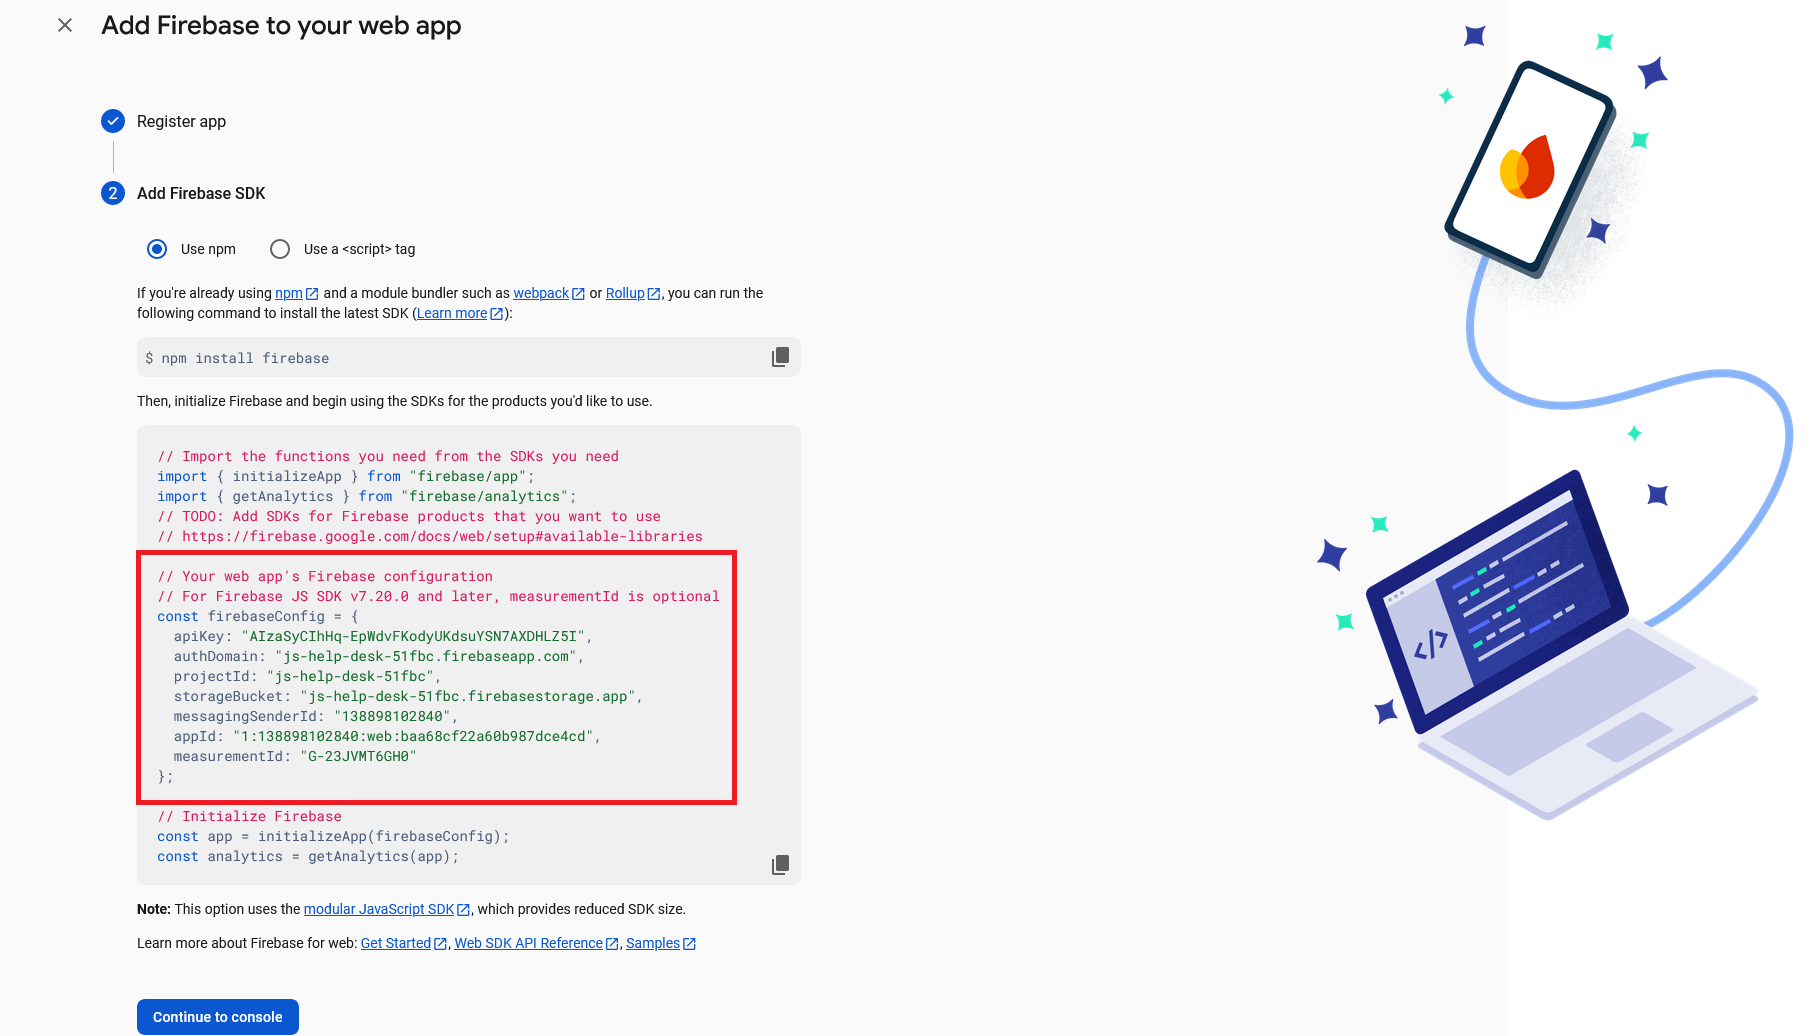
Use these data in the Push Notifications configurations.
Step 11:
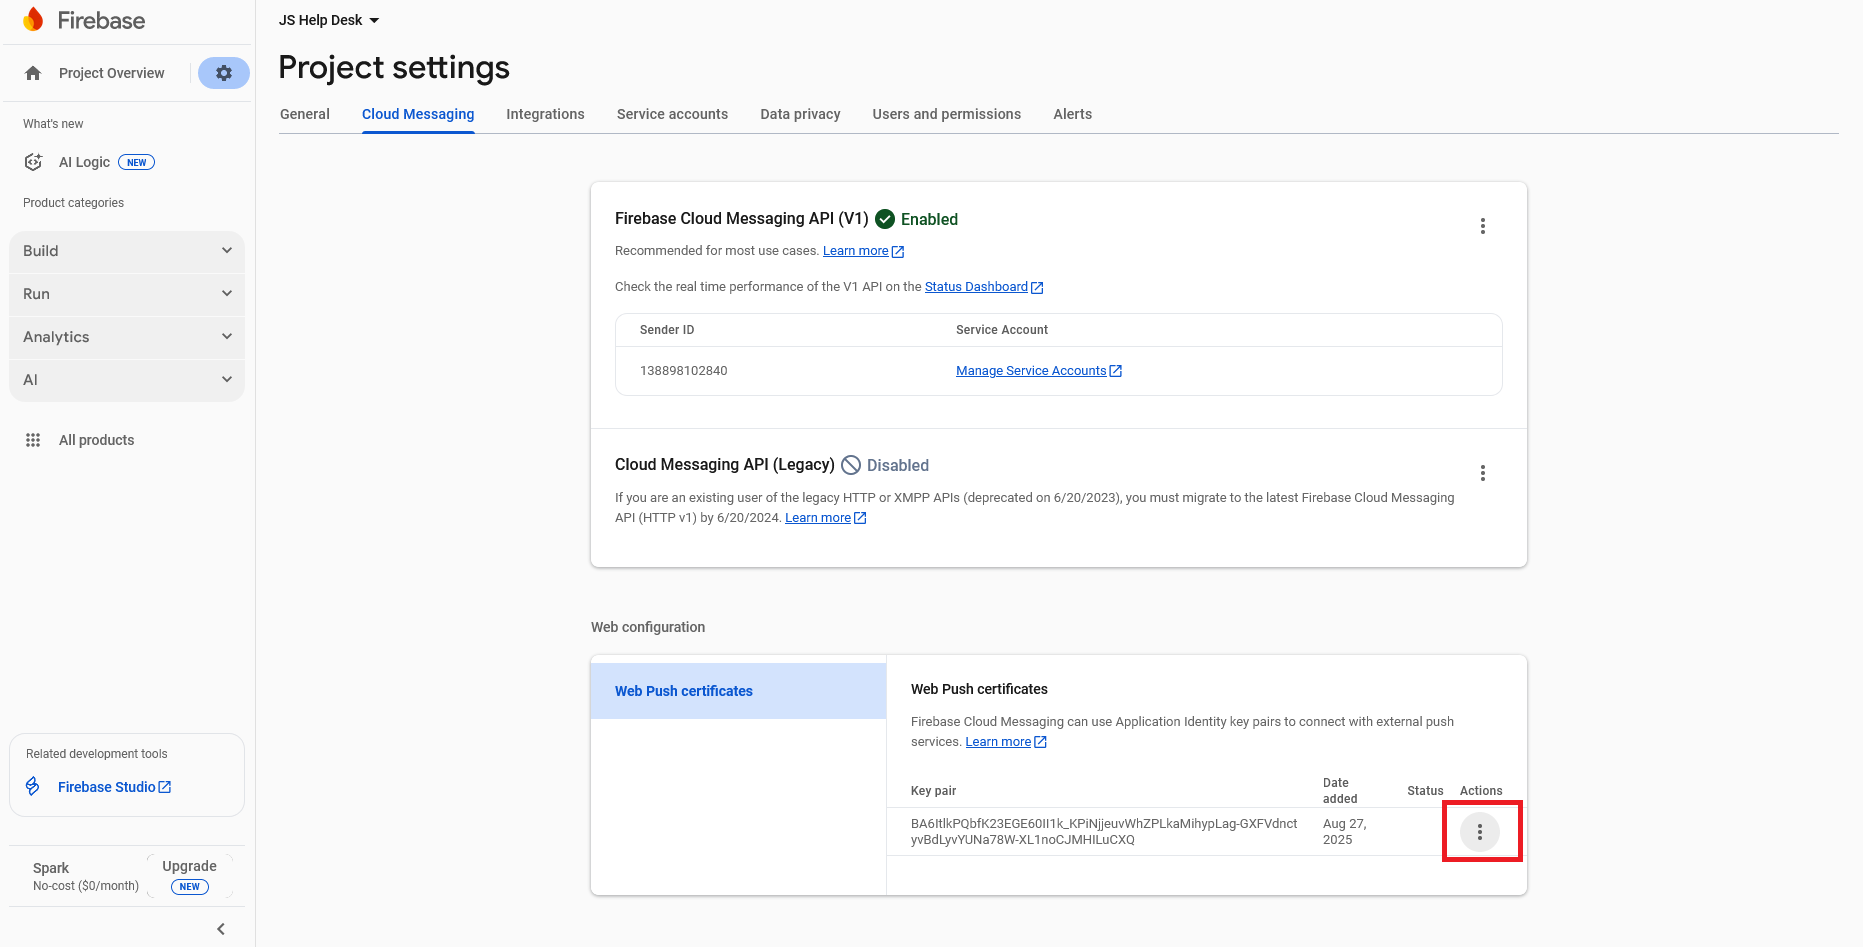
Project settings > Cloud Messaging, click on the three dots.
Step 12:
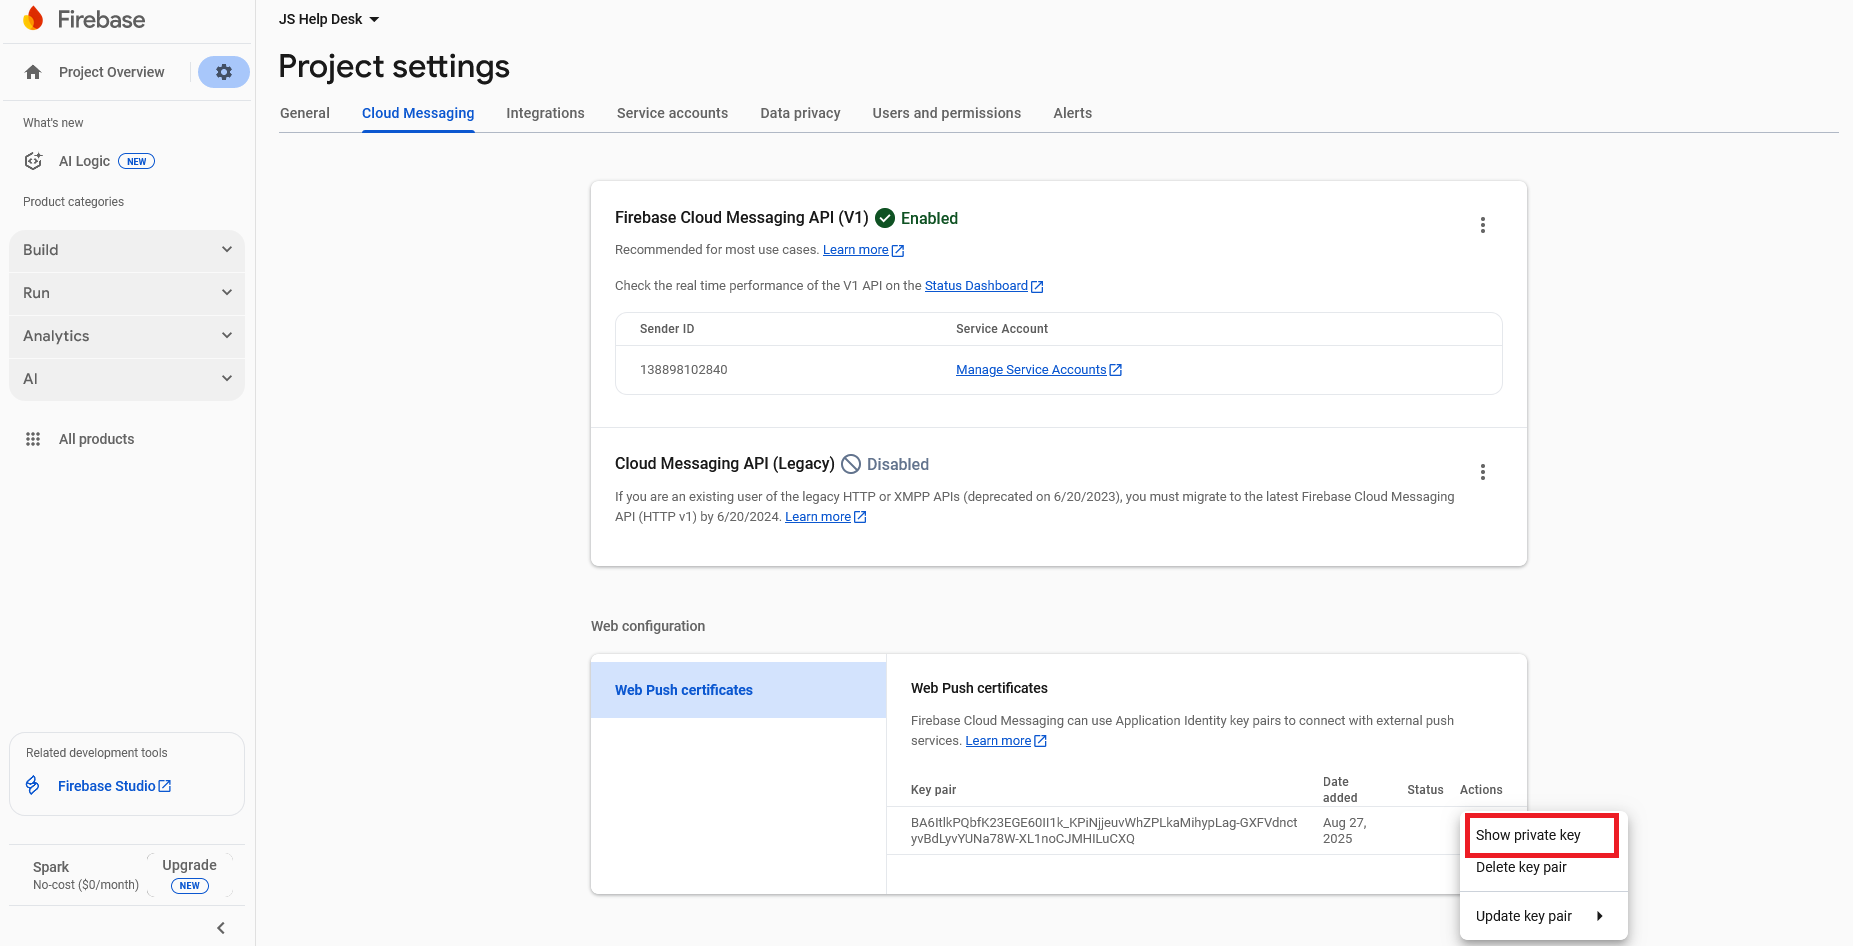
Click on the show private key.
Step 13:
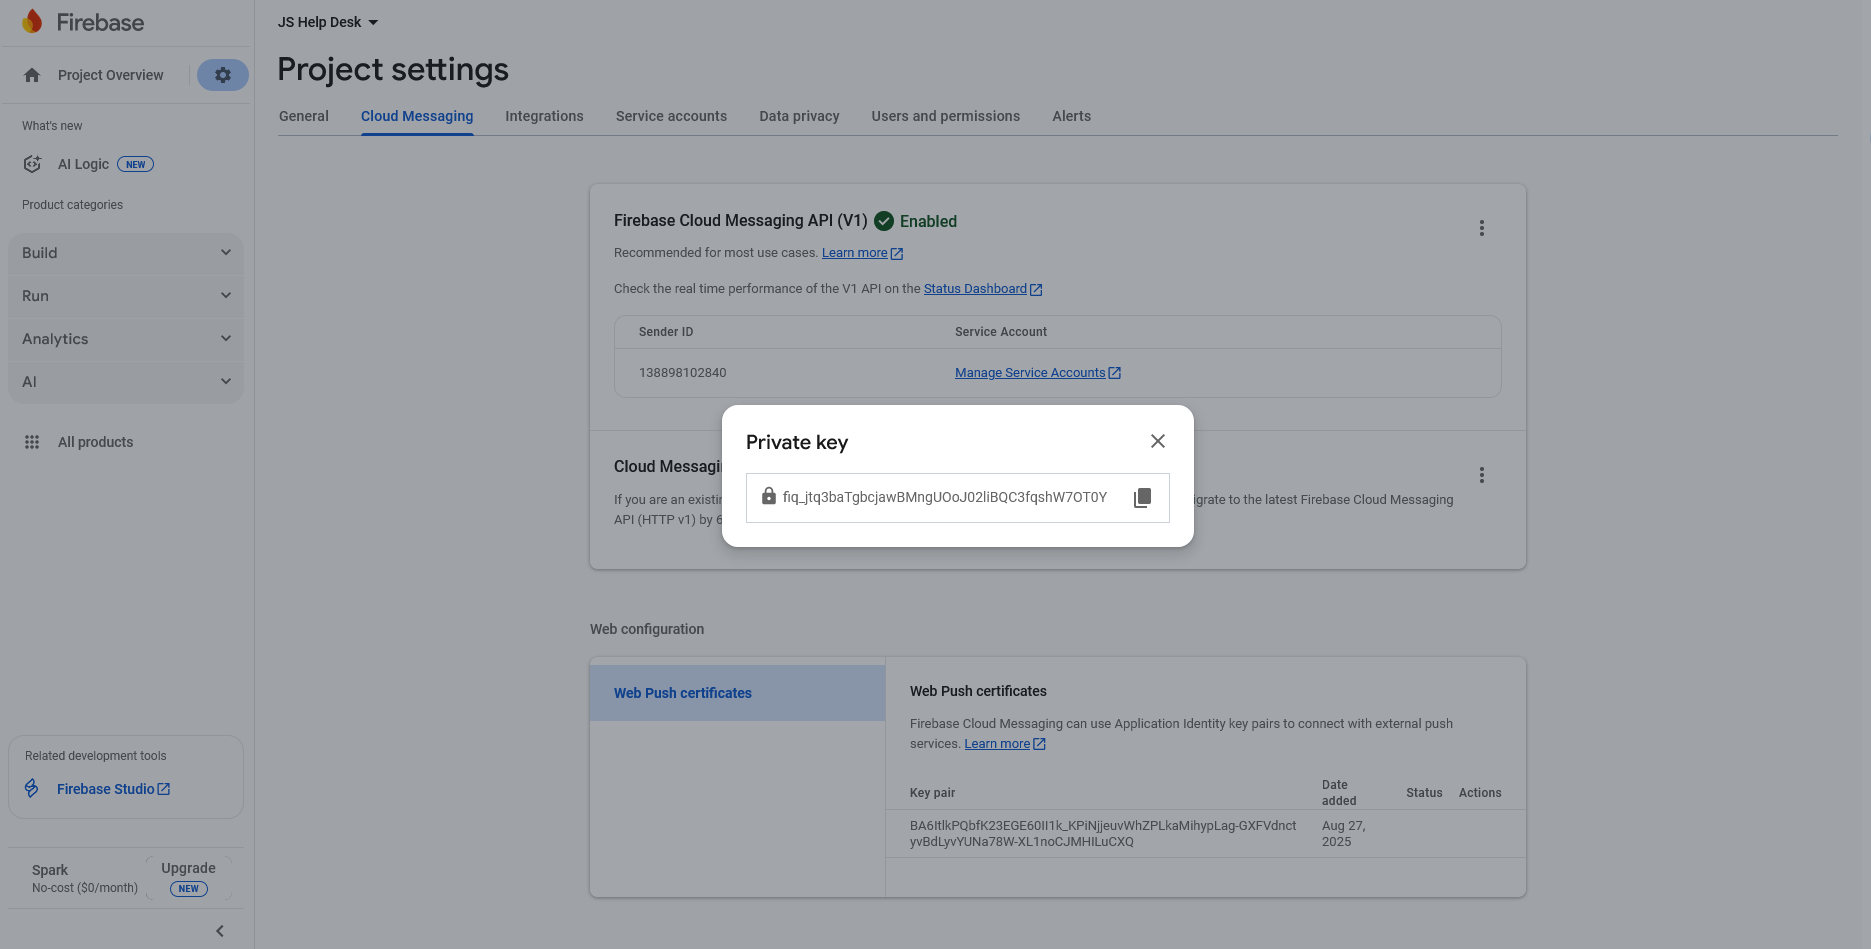
Copy the private key and use it in the Firebase Notifications configurations.
Step 14:
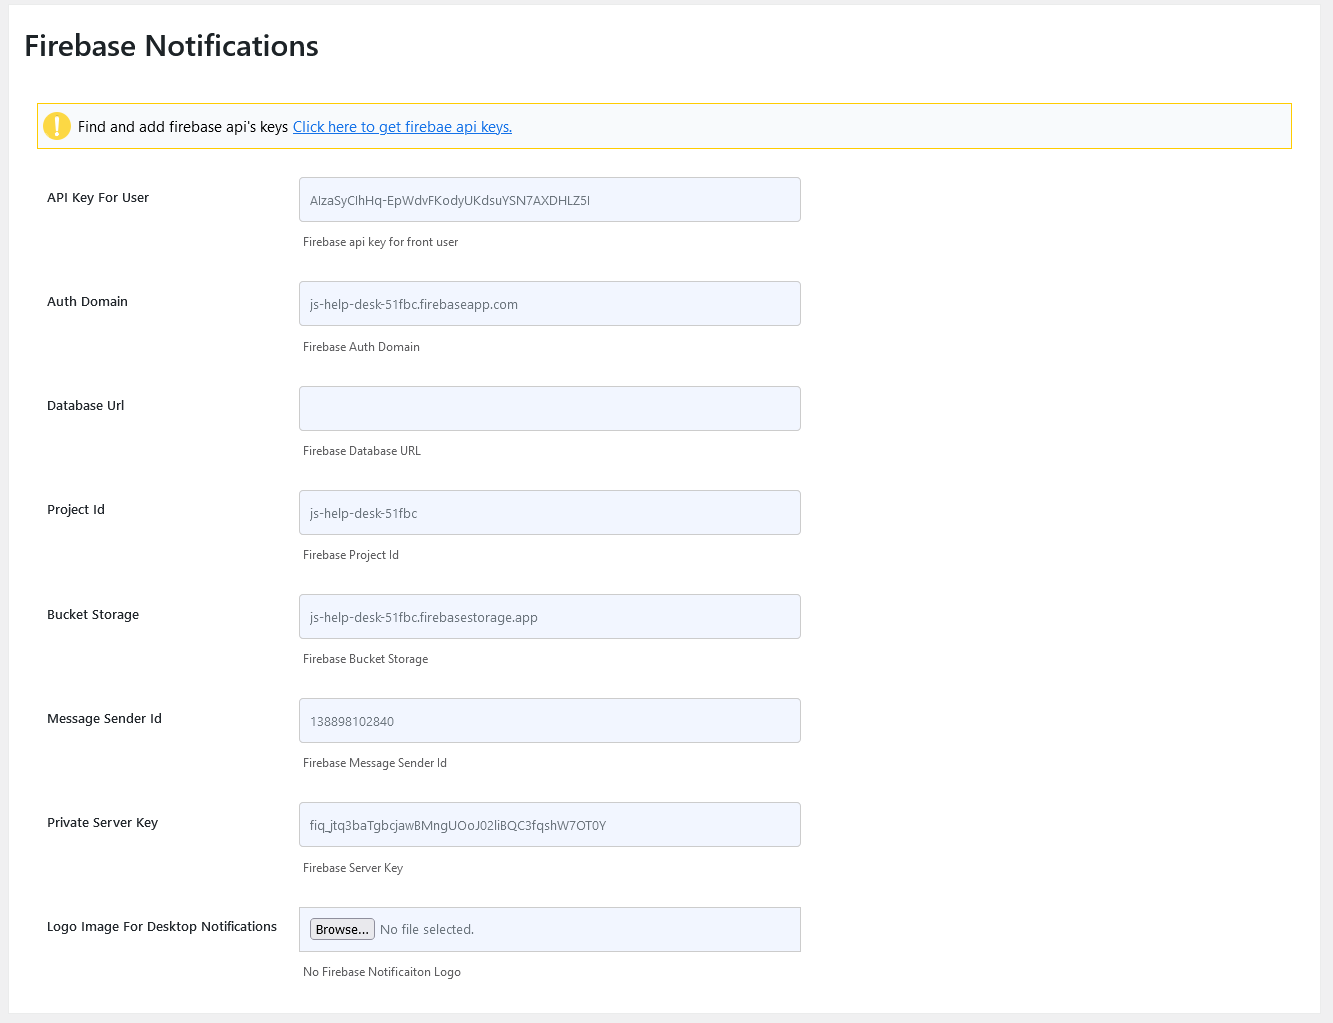
Use the data from steps 10 and 13. After filling in the Firebase Notifications configurations, click on the save configuration button.
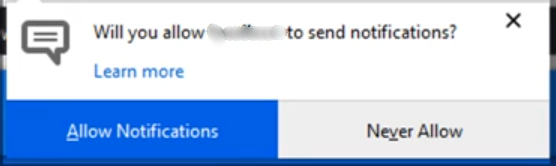
Click on the Allow Notifications button.
After allowing notifications, you see this message.