Agent Roles In The JS Help Desk!
Agent Roles
From your agent dashboard, navigate to the Agent Dashboard > Dashboard Menu > Agent Roles. On the agent roles page, you will find various options to manage the agent roles. All the details about the role and how the agents performed in it are discussed here.
In JS Help Desk, the Agent Roles feature provides a powerful way to manage permissions and responsibilities for different types of support agents. With role-based access, agents can define what agents and managers can view, create, edit, or delete within the help desk system. This granular control ensures that your support workflow remains secure, organized, and efficient.
Search

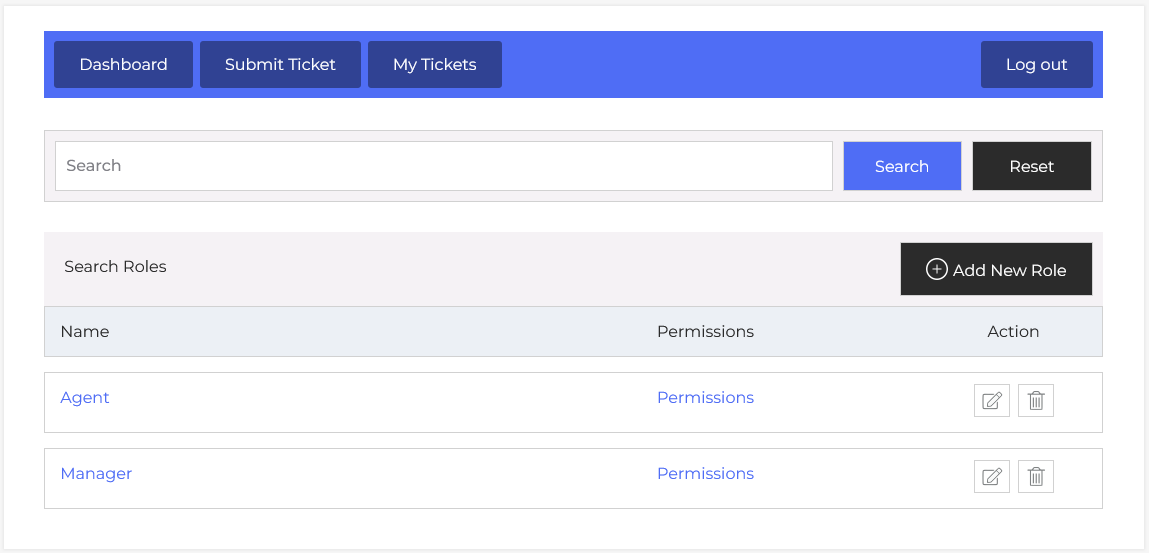
You can use the search filter to find the agent role quickly. You can search by Role Title. Clicking on the Search button will show the agent roles of that title. The Reset button clears the filters and restores the full agent roles list.
Listing

As shown in the image, the Roles Management Panel enables you to view, create, edit, or delete roles, such as “Agent” or “Manager.” Each role can be customized with specific permissions, which helps in separating responsibilities. For example, you might allow managers to oversee all tickets, reassign them, and view reports, while limiting agents to handle tickets assigned only to them.
Permissions
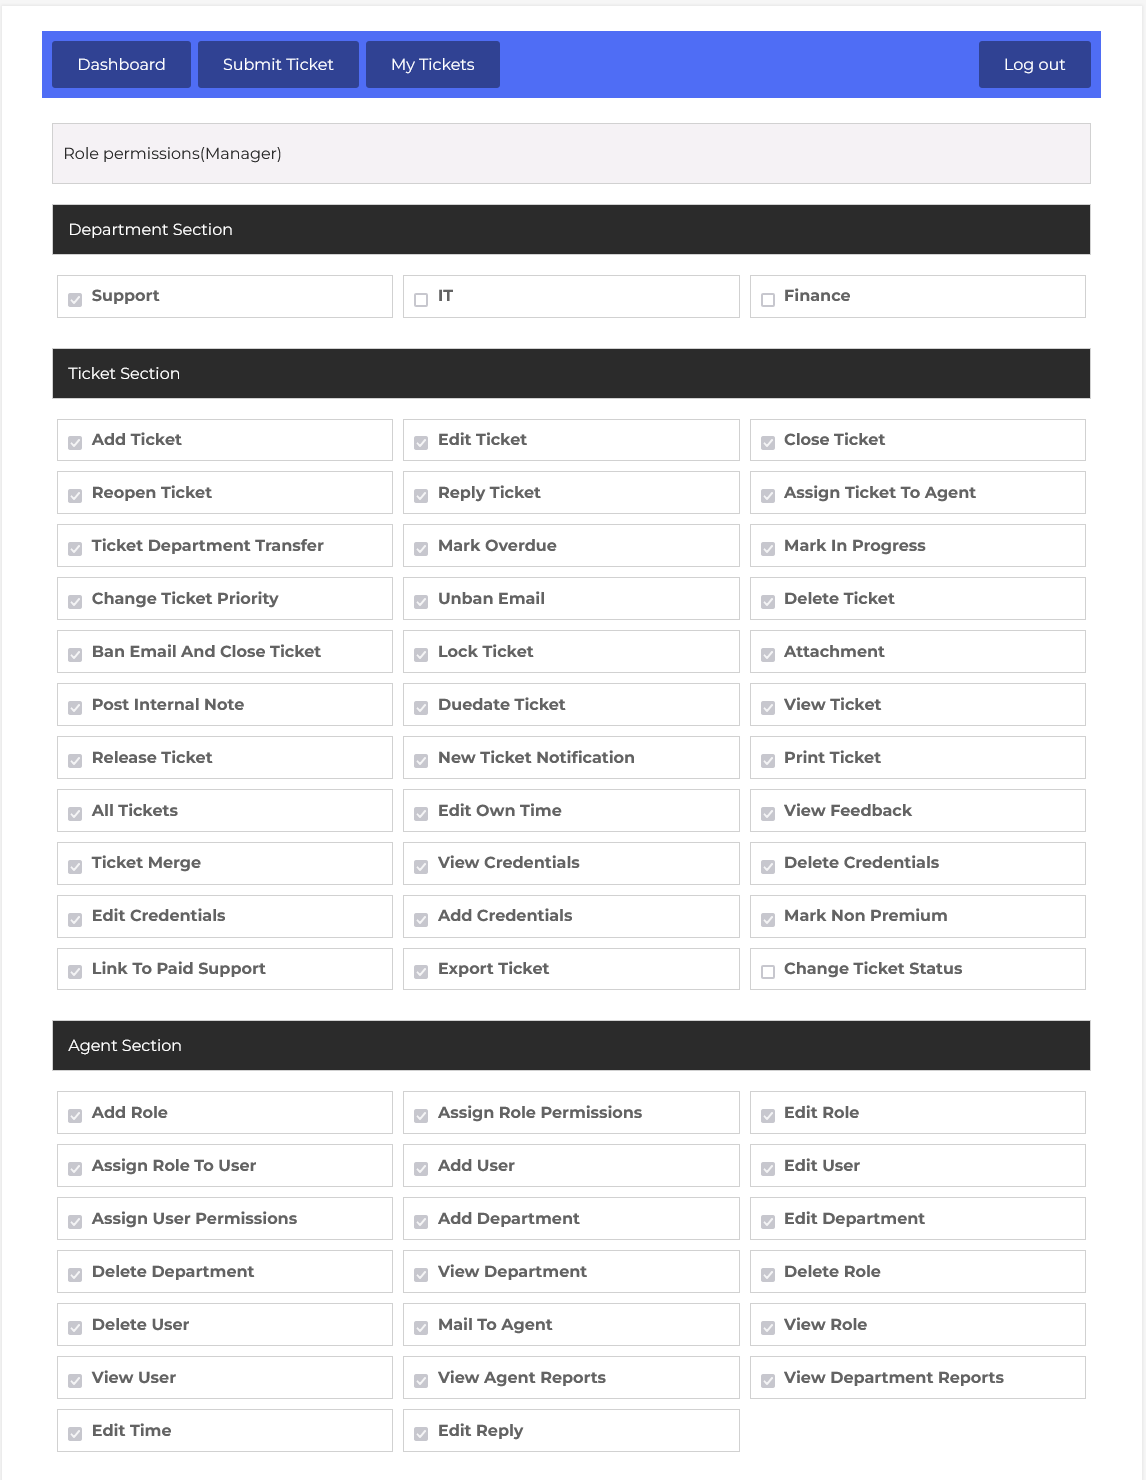
When you click on “Permissions” next to a role, you are taken to a screen where you can configure what actions that role is allowed to perform. Permissions can include options.
Click here to read about the permissions
https://docs.jshelpdesk.com/?epkb_post_type_1=permissions-2
The Action column provides edit and delete icons. Clicking the pencil icon allows you to modify the agent role, while the trash icon deletes the agent role from the system. The “+ Add New Role” button lets you create custom roles beyond Agent and Manager.