Add Canned Response In The JS Help Desk!
Add Canned Response
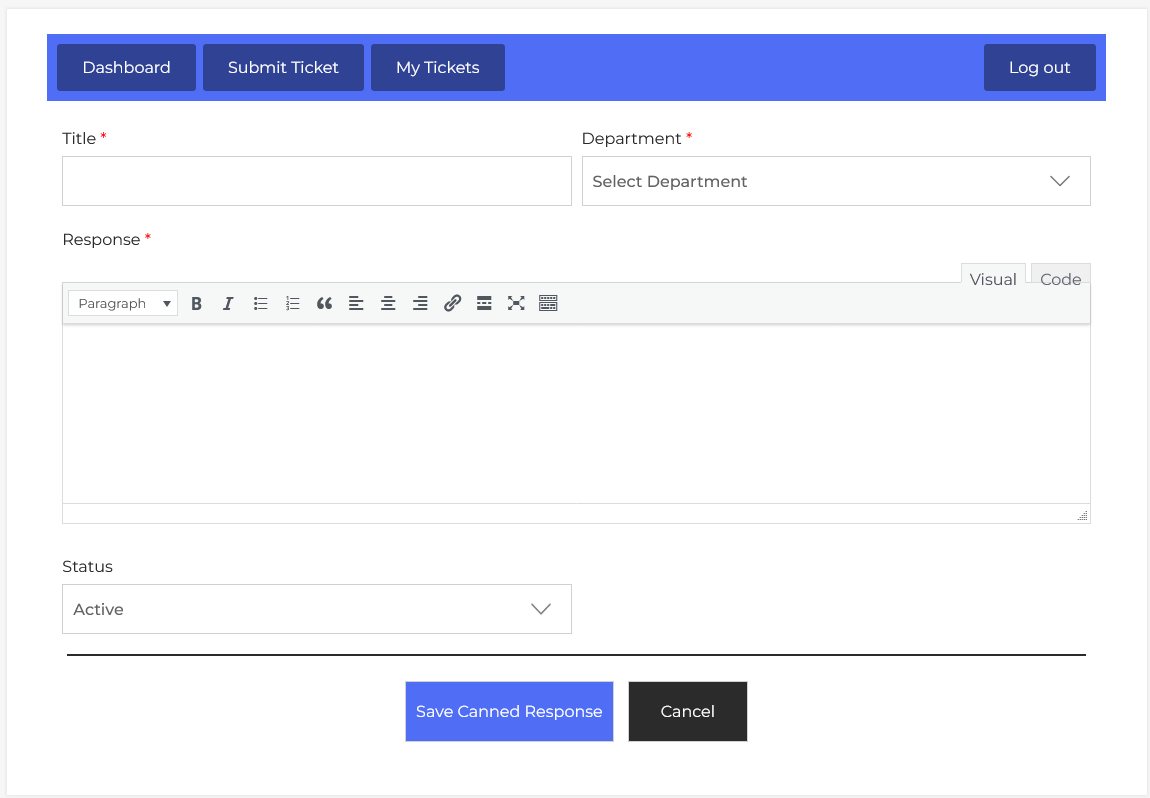
Now, let’s walk through the step-by-step process of adding a canned response from the agent’s end. From your agent dashboard, navigate to the Agent Dashboard > Dashboard Menu > Canned Response > Click on the Add Canned Response button to start adding a response effectively. On the ‘Add Canned Response’ form, we will provide all the necessary details for adding a response.
Adding a new canned response is simple. Just click the “Add Canned Response” button. You’ll be prompted to enter the Title, Department, Response (via a rich-text editor), and Status. This allows you to manage canned responses in a structured way.
- Title: Name of the canned response.
- Department: Select the department from the combo box. This shows the canned response belongs to which departments.
- Response: The response section is a rich-text editor where you can write detailed information, instructions, or guides. You can use formatting tools like headings, bold, bullet points, and hyperlinks to enhance readability.
- Status: The Status setting lets you choose whether the canned response is Active or Disabled.
After filling in all the relevant fields, simply click the “Save Canned Response” button at the bottom of the form. The system will validate the inputs and create the new canned response. If any required information is missing or incorrect, a notification will alert you to fix it before submission.