Agents In The JS Help Desk!
Agents
From your admin dashboard, navigate to the Admin Dashboard > Dashboard Menu > Agents. On the agents page, you will find various options for the admin to manage the agents. All details about the agents and how the admin handled them are discussed here.
The Agents section in JS Help Desk is where administrators can manage the support team members responsible for handling customer tickets. Each agent has a specific role, status, and set of permissions that define their capabilities within the help desk system. This centralized dashboard allows you to add new agents, edit existing ones, filter by role or status, and assign access levels, giving you full control over your support operations.
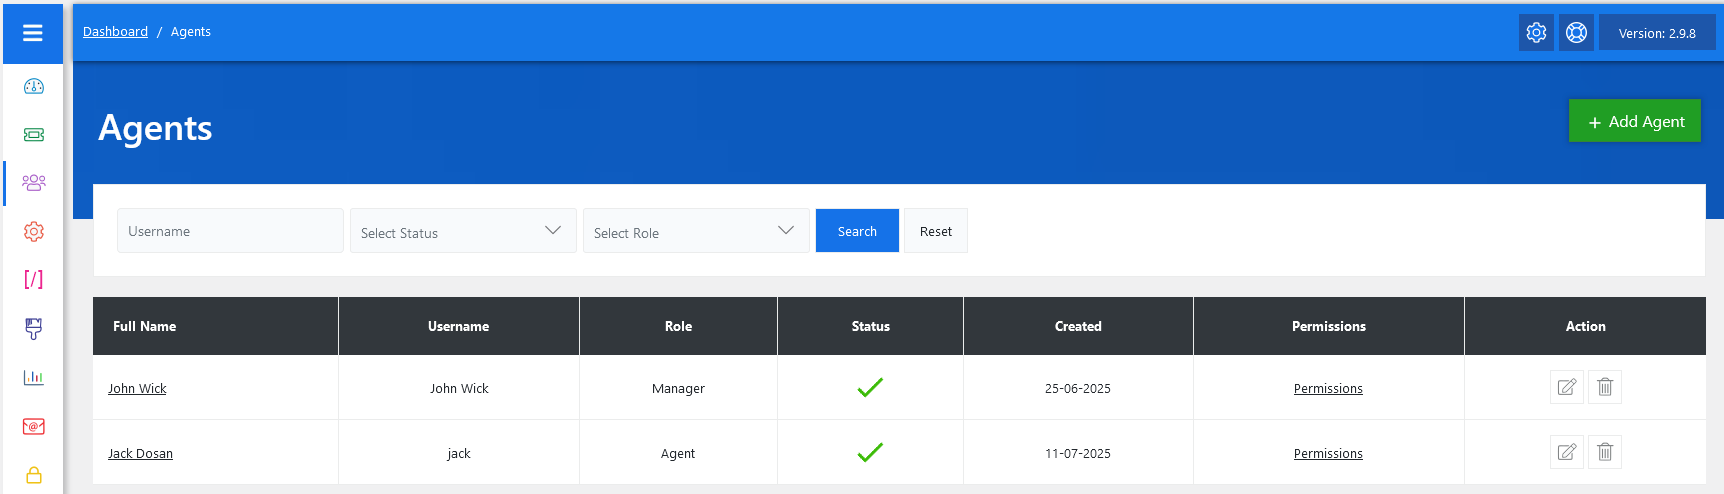
Search

You can use the search filters above the agent table to quickly find team members. You can search by Username, filter by Status (Active/Disabled), or select a specific Role. Simply choose a role from the dropdown and click on the Search button to show the agents of that role. The Reset button clears the filters and restores the full list.
Listing

Each agent entry includes the following key fields: Full Name, Username, Role, Status, Created Date, Permissions, and Action. Each agent is assigned a Role, which defines their capabilities within the help desk. Common roles include Agent, Manager, or Admin, and each can be customized based on your workflow. For example, a Manager may have the ability to assign tickets and manage departments, while a regular Agent may only view and respond to tickets assigned to them.
The Permissions link for each agent gives you granular control over their access. When clicked, it opens a screen where you can define what features the agent can access, such as viewing reports, managing departments, editing tickets, or accessing certain help topics.
The Action column provides edit and delete icons. Clicking the pencil icon allows you to modify an agent’s profile, while the trash icon deletes the agent from the system.