Add Announcement In The JS Help Desk!
Add Announcement
Now, let’s walk through the step-by-step process of adding an announcement from the agent’s end. From your agent dashboard, navigate to the Agent Dashboard > Dashboard Menu > Announcements > Click on the Add Announcement button to start adding an announcement effectively. On the ‘Add Announcement’ form, we will provide all the necessary details for adding an announcement.
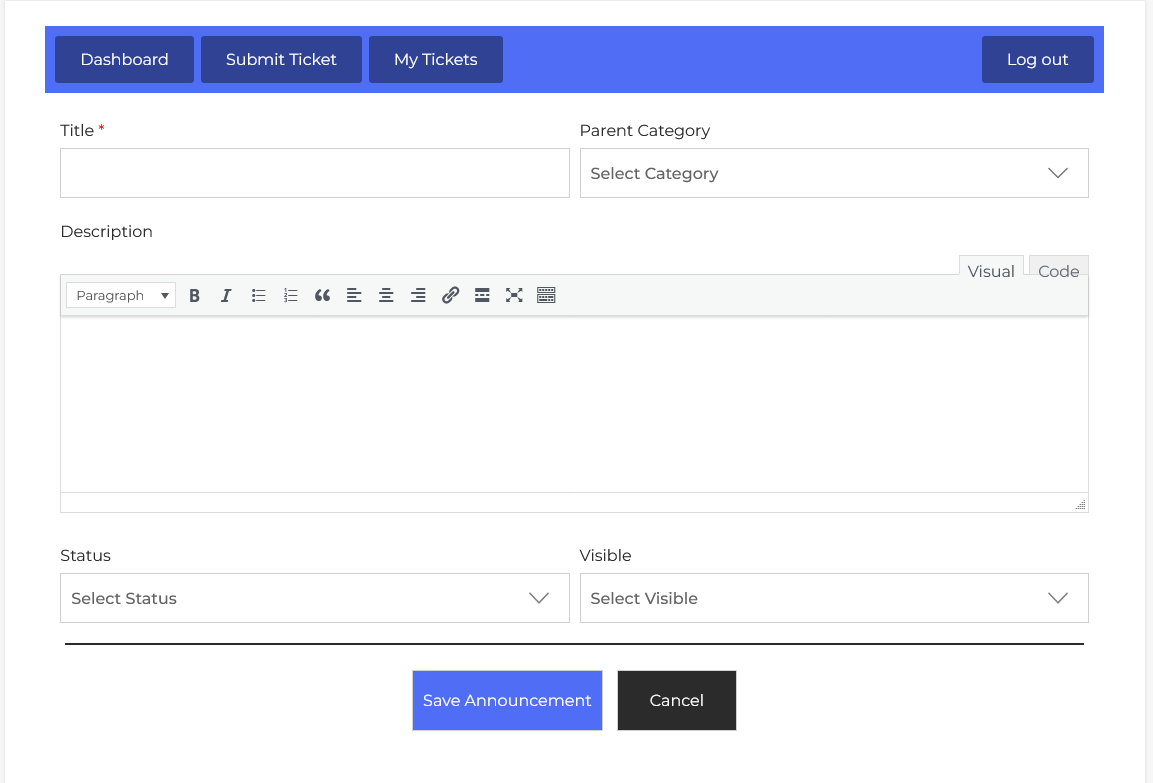
Adding a new announcement is simple. Just click the “Add Announcement” button. You’ll be prompted to enter the Title, Parent Category, Description (via a rich-text editor), Status, and Visible. This allows you to manage content in a structured way. For example, under a Support category, you might add an announcement like “HR Policies,” complete with step-by-step instructions and screenshots.
- Category: Select category from the drop-down menu. Categories help group similar topics together for easy navigation.
- Title: Enter the title of the announcement.
- Description: The description section is a rich-text editor where you can write detailed information, instructions, or guides. You can use formatting tools like headings, bold, bullet points, and hyperlinks to enhance readability.
- Status: The Status setting lets you choose whether the article is Active or Disabled.
- Visible: The Visible dropdown lets you define who can view the article. This can be particularly useful if certain content is meant only for logged-in users/visitors or logged-in users only.
Visible to “Logged-in user / Visitor.”
When you choose “Logged-in user / Visitor”, the announcement article is made publicly accessible. This means:
-
Anyone can view the article, whether they are logged into your system or just visiting your site.
- This setting is useful when you want to maximize accessibility and provide open support to all users, including potential customers or guests browsing your platform.
Visible to “Logged-in user only.”
Selecting “Logged-in user only” restricts access to the announcement article so that only authenticated users (users who are logged into the system) can view it. This is useful when the content is: Sensitive or intended for registered clients.
-
This setting helps you ensure that unauthorized users do not gain access.
After filling in all the relevant fields, simply click the green “Save Announcement” button at the bottom of the form. The system will validate the inputs and create the new announcement. If any required information is missing or incorrect, a notification will alert you to fix it before submission.