Compose Mail In The JS Help Desk!
From your agent dashboard, navigate to the Agent Dashboard > Dashboard Menu > Mail. On the mail page, you will find various options for the agent to manage mail. All details about the mail and how the agent handled it are discussed here.
The Mail feature in JS Help Desk allows agents to directly send messages to other agents within the help desk system, making internal communication fast, organized, and centralized. Instead of relying on external email platforms, agents can handle all necessary correspondence within the help desk interface, keeping related conversations in one place and easy to track. This feature is particularly useful for discussing ticket-related matters, sharing updates, or seeking assistance from colleagues.
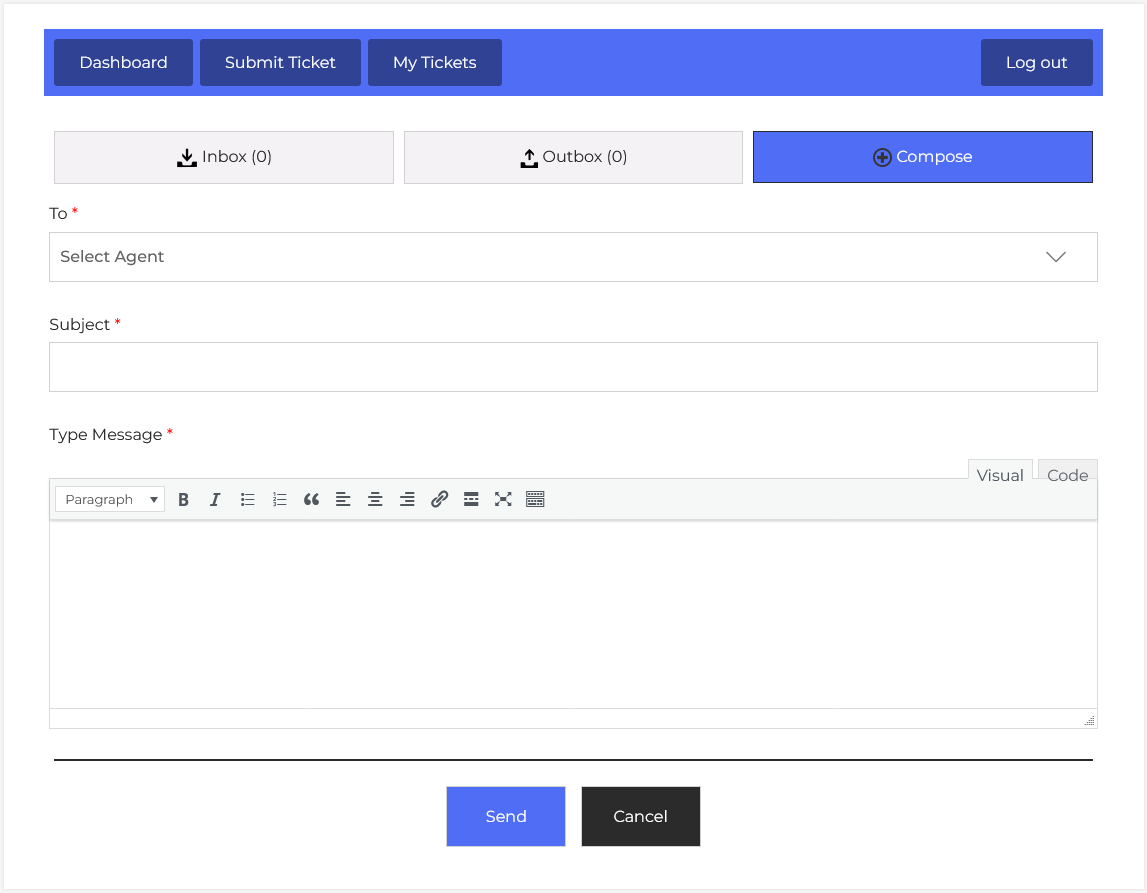
Compose Mail
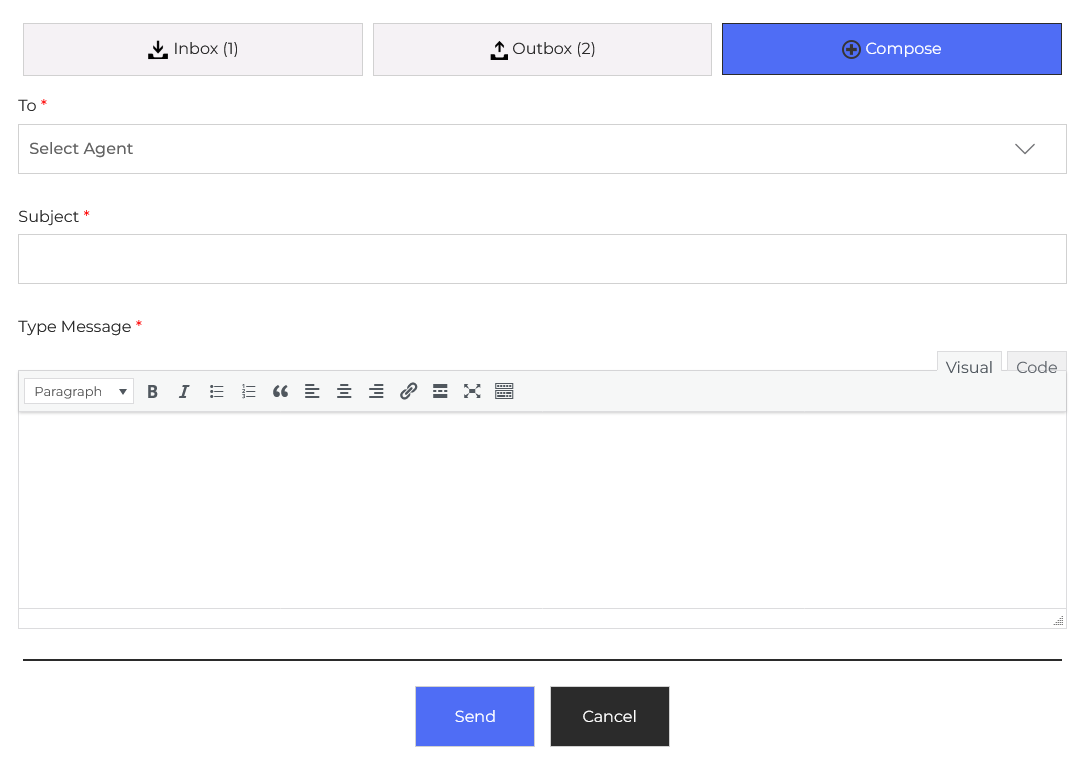
At the top of the interface, you can see three primary sections: Inbox, Outbox, and Compose. The Inbox stores all received messages from other agents, while the Outbox keeps a record of the messages you have sent. Clicking the Compose button opens the form where you can create a new message. This keeps your workflow seamless, as you can switch between checking incoming messages and sending new ones without leaving the help desk environment.
- To: When composing a message, the first step is selecting the recipient agent from the “To” dropdown list. This ensures that your message is sent directly to the intended agent. For example, if you need to hand over a ticket to Agent John for specialized technical troubleshooting, you would select his name from the dropdown before composing your message.
- Subject: The Subject field is a required element that gives the recipient a clear idea of the message’s purpose before opening it.
- Type Message: The Type Message area is where you write the content of your message. JS Help Desk provides a rich-text editor, allowing you to format your message with bold, italics, bullet points, and hyperlinks. This is particularly useful if you need to highlight important details or provide structured information. For instance, you could include a step-by-step list of actions already taken on a ticket, along with a link to a related document.
After drafting your message, you have two options: click Send to immediately deliver it to the recipient’s inbox, or click Cancel if you decide not to send it. Once sent, your message will appear in your Outbox with a timestamp, so you can confirm it was successfully sent.