Fields In The JS Help Desk!
Fields
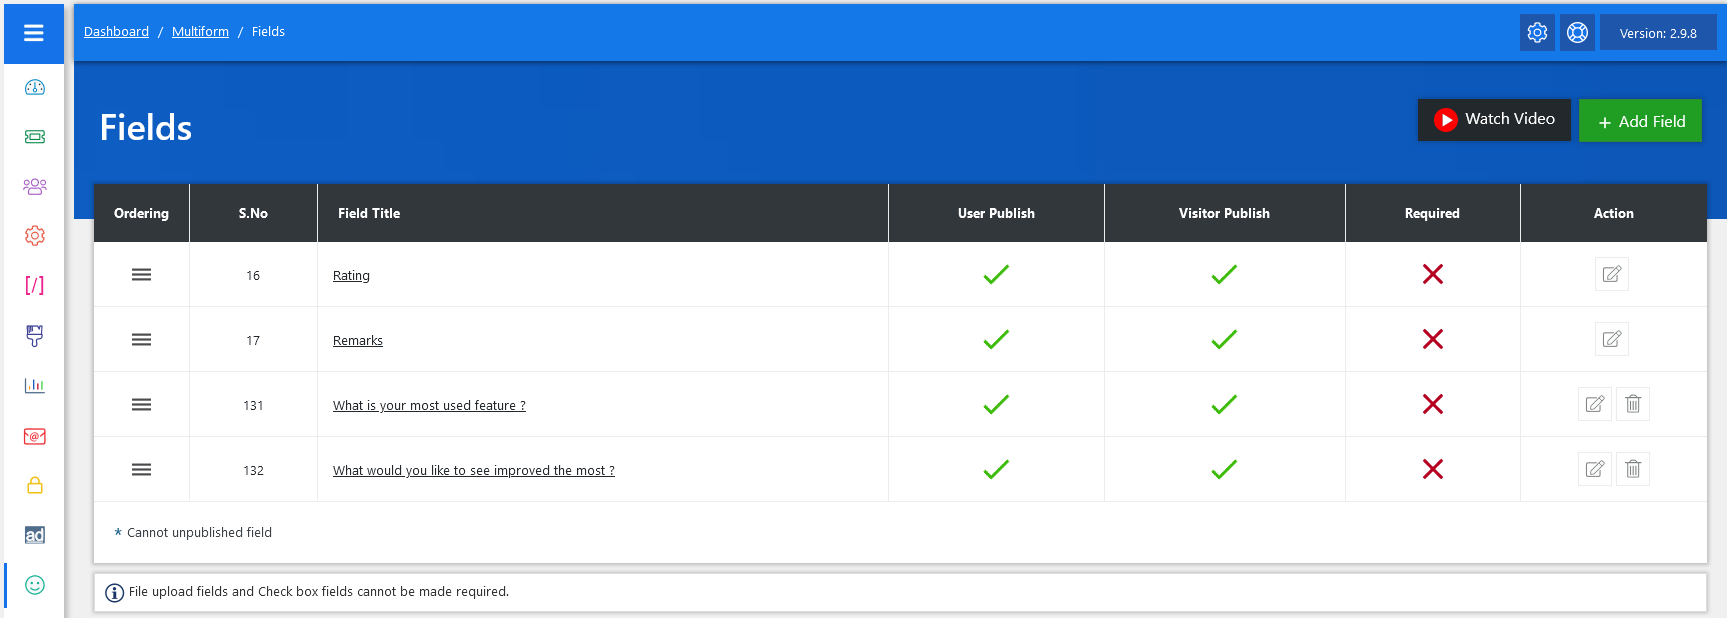
From your admin dashboard, navigate to the Admin Dashboard > Dashboard Menu > Feedback Fields. Here, you can manage existing fields and add new ones to collect specific details about the feedback form. To add a new field, simply click on “Add Field.” This functionality allows you to customize the feedback form according to your requirements.
From the field management screen, you have complete control over how fields are managed and displayed on your feedback form. By selecting any field, you can adjust its visibility and publishing status for users and visitors alike. You can also set whether a field is required or not. Additionally, you have the flexibility to edit or delete fields as needed, ensuring your customization matches your evolving needs.
- Ordering: Adjust the order of your fields on the feedback form page.
- Field Title: Name for your custom field.
- User Publish: Controls the visibility of fields in the feedback form page on the user side.
- Visitor Publish: Controls the visibility of fields in the feedback form page on the visitor side.
- Required: This option controls whether to make this field required or not.
- Edit/Delete: Admin can edit and delete the field by using these action buttons.
Ordering
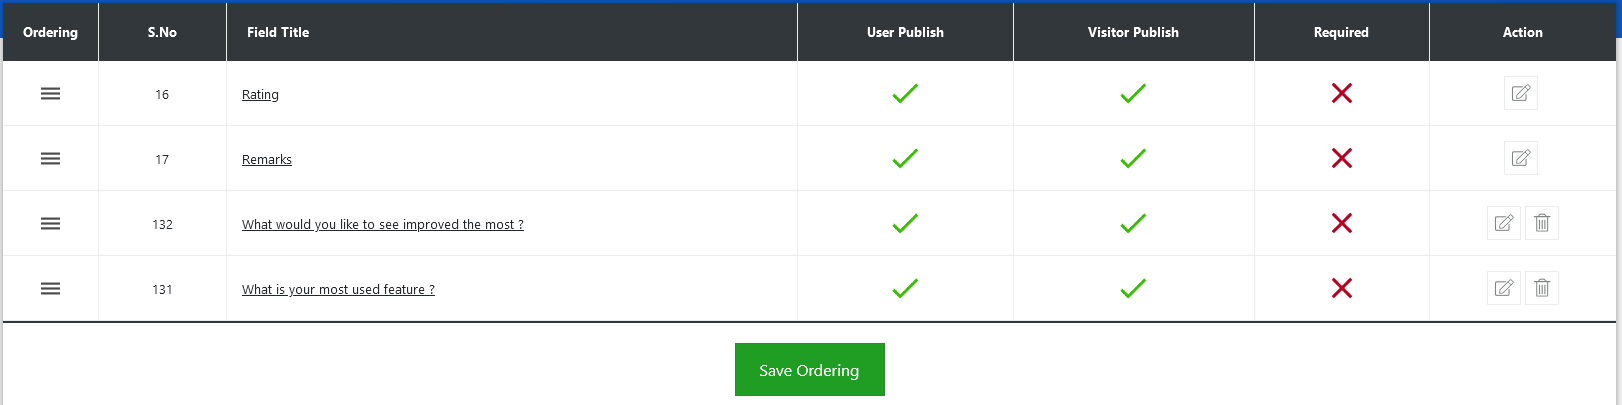
You can rearrange the order of your custom fields on the feedback form, deciding where you want to show these fields. Once you change the field order and save it, the fields on the feedback form will align with your preferences. And that’s it! By following these comprehensive steps, you can customize your feedback forms with additional fields to suit your needs.