Captcha/reCAPTCHA In The JS Help Desk!
How To Set Captcha/reCAPTCHA In The JS Help Desk Plugin For WordPress!
On setting up Captcha in the JS Help Desk plugin. We’ll guide you through the step-by-step process of adding Captcha to your website to enhance security and prevent spam.
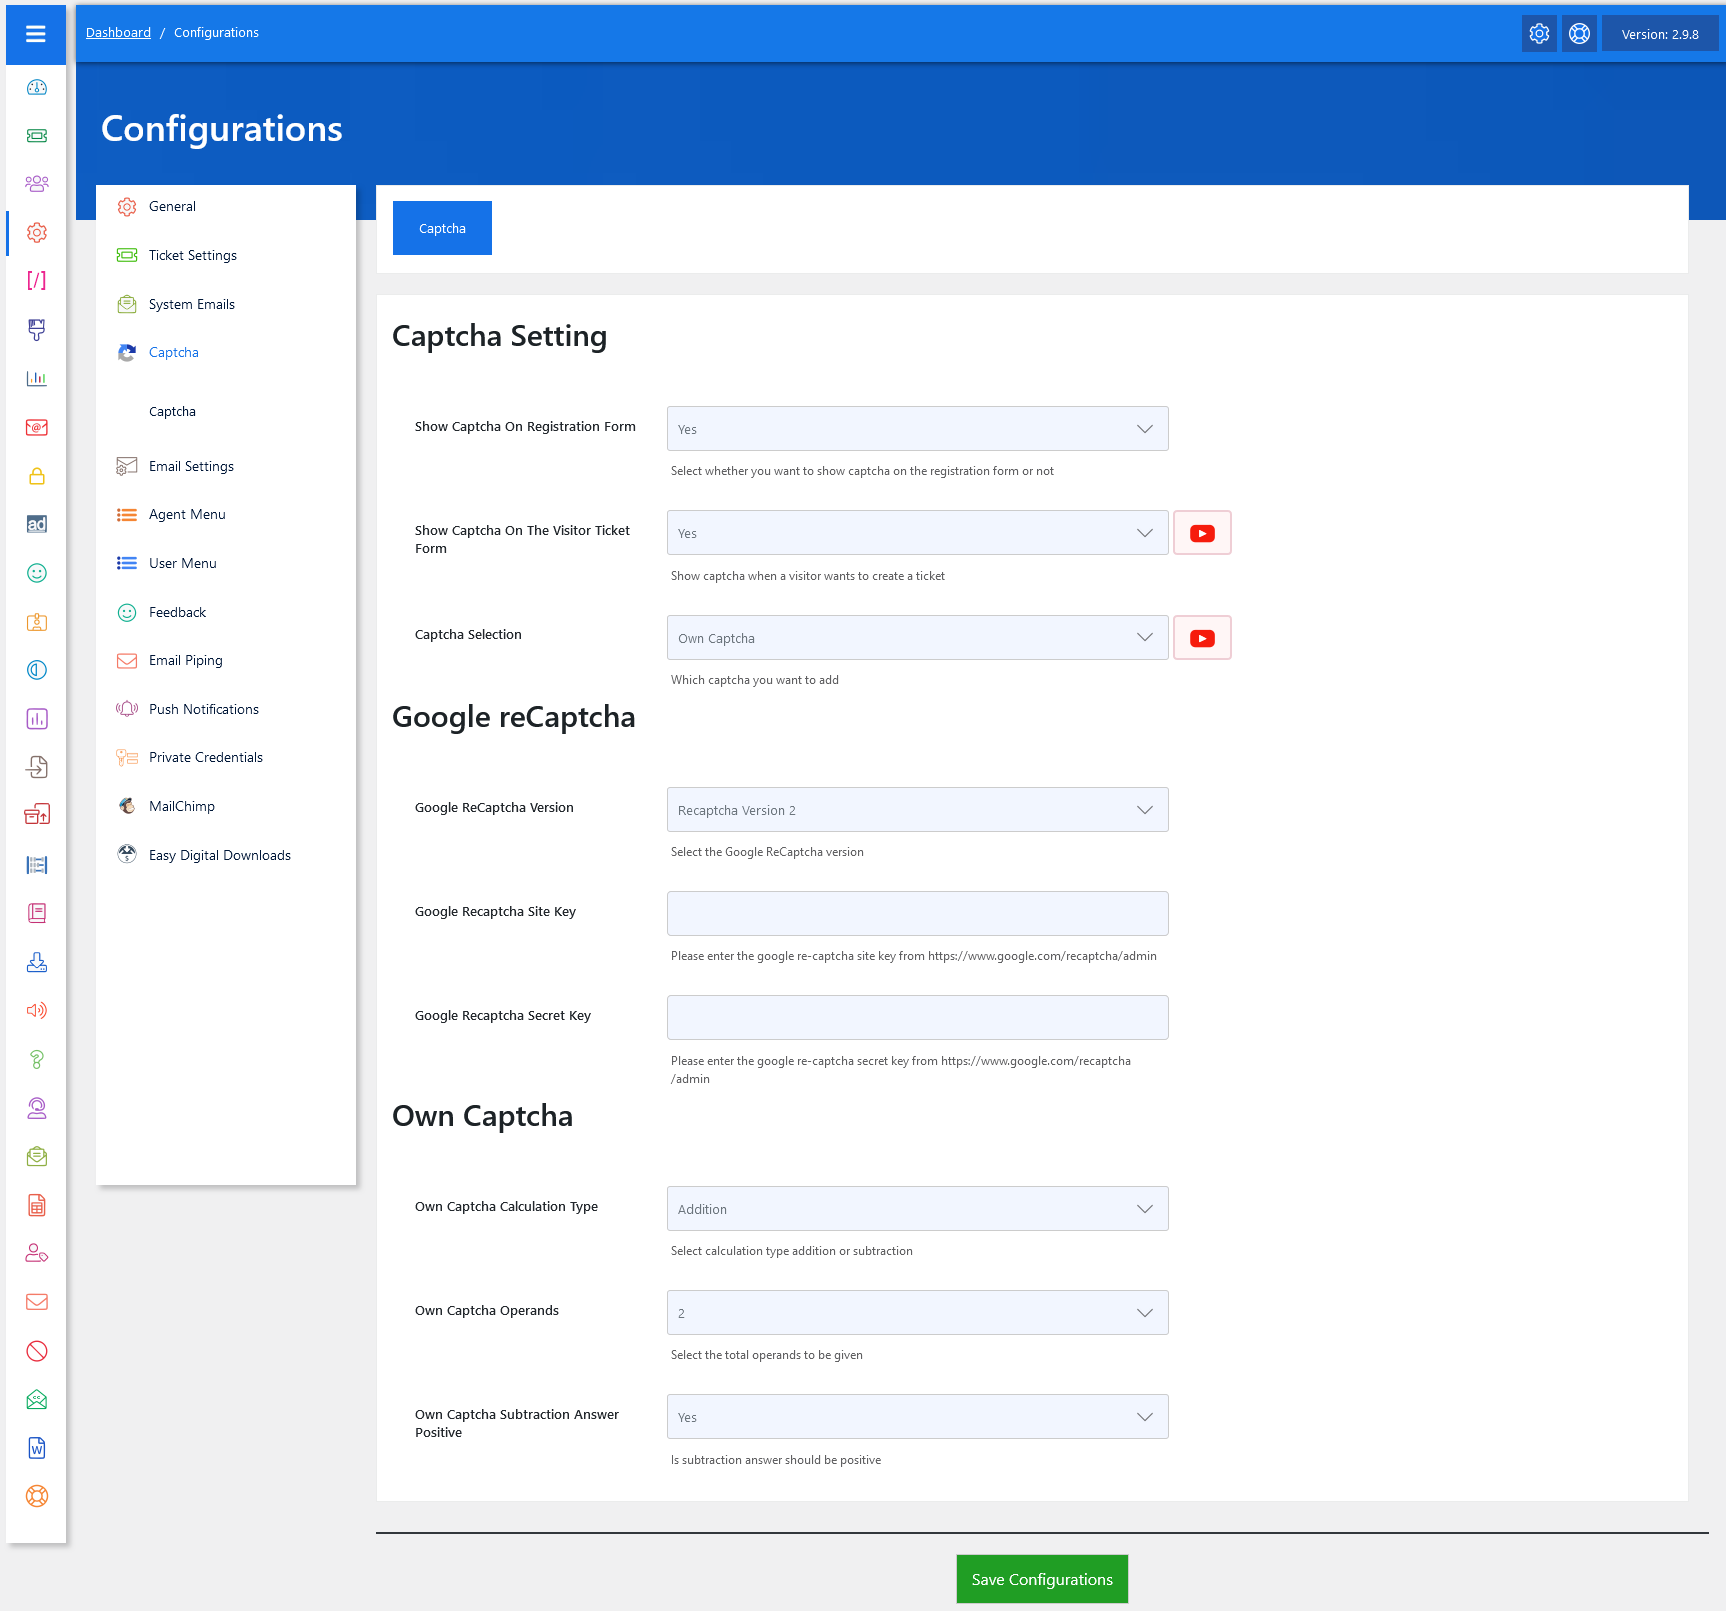
For Captcha settings, as an administrator, navigate to the Admin Dashboard > Dashboard Menu > Configurations > Captcha Settings. Once on this page, you’ll find options related to Captcha settings that you can implement on your site.
Captcha Setting
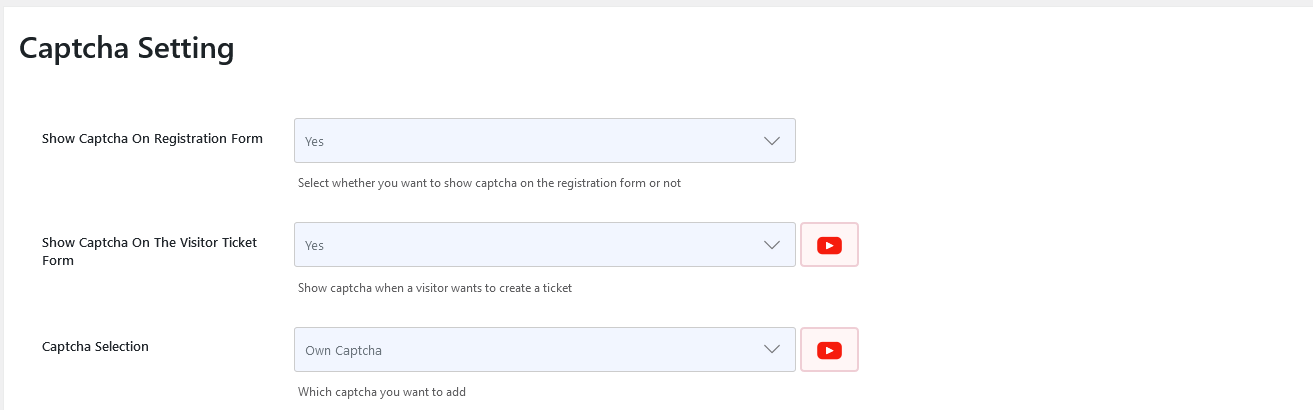
The first setting concerns whether to display a Captcha on the registration form or the visitor ticket form. Next, let’s proceed to select the Captcha type. The plugin offers two types of Captcha: Own Captcha and Google ReCAPTCHA.
Setting Up Own Captcha
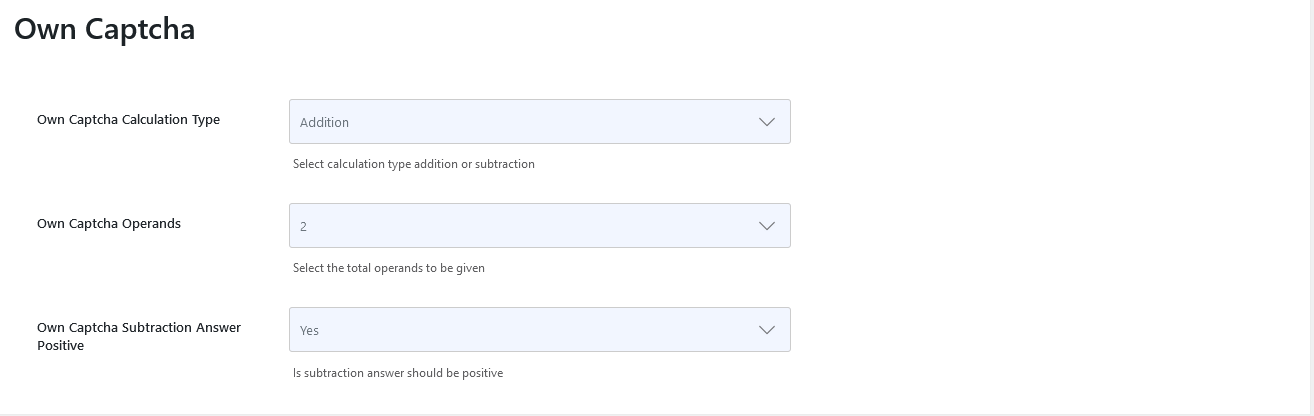
First, we’ll walk through setting up the JS Help Desk Own Captcha.
In the Captcha settings section, select the Captcha type as Own Captcha. For the Own Captcha, you can further set up the Captcha calculation type, opting for either addition or subtraction. Additionally, you can customize settings, such as ensuring positive answers for subtraction, and specify the number of operands for the Own Captcha.
Once you’ve configured these settings to your preference, be sure to save the configuration to enable Captcha on the relevant pages of your site.
Setting Up Google ReCAPTCHA

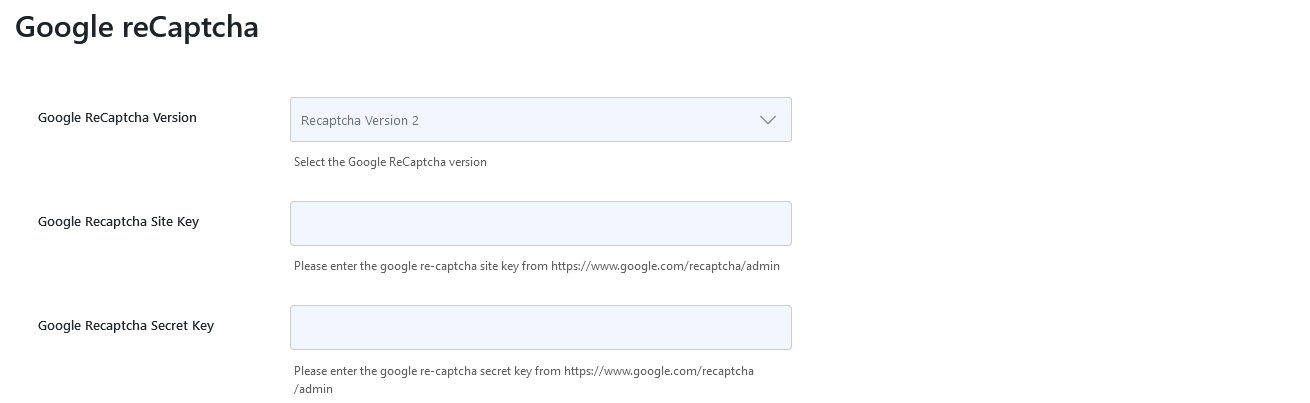
Now, let’s proceed to set up Google Captcha for your JS Help Desk site. First, head back to the Captcha settings section and select ‘Google Captcha’ as the Captcha type. Then, navigate to the Google reCAPTCHA settings section.
For Google reCAPTCHA, there are two versions available: Google reCAPTCHA version 2 and Google reCAPTCHA version 3. You can enable Captcha using both versions as per your requirements. Make sure to enter the necessary site and secret keys provided by Google for each version to activate the Captcha functionality on your site. After configuring the settings, remember to save the changes to ensure that Google reCAPTCHA is properly implemented.
Google reCAPTCHA V2
Let’s start with version 2. After selecting version 2, you’ll need a Google reCAPTCHA site key and private key to enable the Captcha. To obtain these keys, copy the Google reCAPTCHA website link and open it in a new tab in your browser. Ensure that you are logged into your Google account; if not, log in to access the Google reCAPTCHA website. Follow the instructions on the Google reCAPTCHA site to generate your site key and private key.
- Add a Label: This key helps organize your Google Cloud reCAPTCHA Enterprise keys.
- Choose the Type: Select reCAPTCHA version 2.
- Fill in Authorized Domains: Enter your website’s domain(s) where the reCAPTCHA will be used.
- Click Submit: This will generate a new API key pair.
After registering your site, you will receive a Site Key and Secret Key. Copy these keys and paste them into the corresponding fields in the JS Help Desk settings section. Once you have pasted the keys, save your configurations, and Google reCAPTCHA will be enabled. Now, Google reCAPTCHA version 2 has been successfully enabled.
Google reCAPTCHA V3
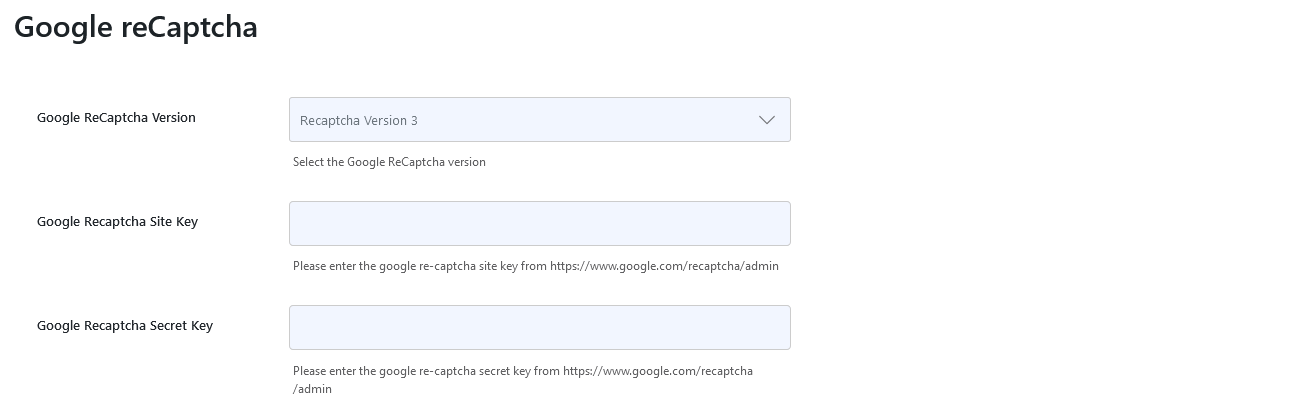
Let’s now set up Google reCAPTCHA version 3 for your JS Help Desk website. First, select reCAPTCHA version 3. Then, copy the Google reCAPTCHA website link and open it in a new tab in your browser. Follow the instructions on the Google reCAPTCHA site to generate your site key and private key.
Once you have obtained the keys, copy them and return to the plugin’s settings. Enter the site key and private key to enable Google reCAPTCHA version 3 for your JS Help Desk site. Now, Google reCAPTCHA version 3 has been successfully enabled.